artisanovernight breadsitalianinternational
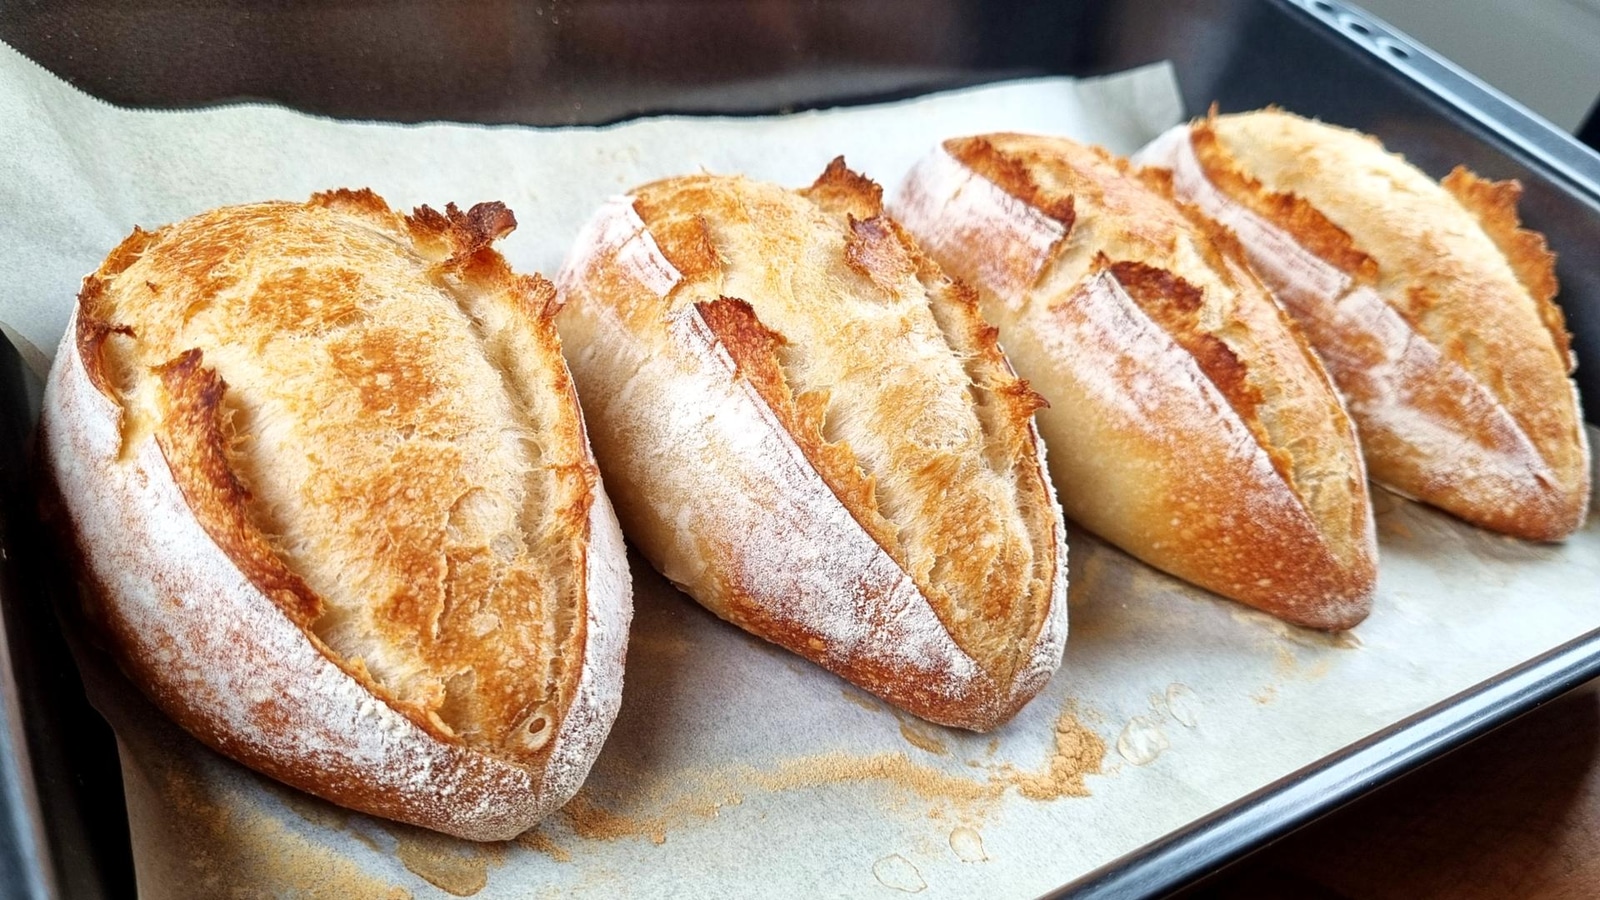
Crispy Biga Bread - Tastes Divine!
So crispy and flaky outside, amazingly soft inside - incredible sourdough-like flavor
This biga bread tastes divine! The Italian pre-ferment method creates an amazing sourdough-like aroma that reminds me of traditional bakeries. So crispy and flaky on the outside, with an amazingly soft and airy crumb inside - this is what artisan bread is all about! The biga starter is a very stiff dough that ferments for 8-12 hours, developing complex flavors and that characteristic tangy taste without needing a sourdough starter. Follow along with the video for a complete visual guide to mastering this incredible Italian bread technique.
How to Make Biga Bread - Crispy and Flaky Artisan Bread
Follow along with this detailed video guide to see the complete biga bread process from start to finish
Follow along with the video for perfect results! You'll see exactly how to create the stiff biga starter, watch it develop those amazing bubbles during fermentation, and learn the proper shaping techniques for perfect loaves. The video shows you two different shaping methods, so you can choose your favorite. Watch the full tutorial on my channel for step-by-step visual guidance that makes this traditional Italian technique easy to master.
For the Biga Starter
- 3 tbsp. Water(50 ml)
- ⅛ tsp. Fresh yeast(0.5 g, or ⅛ tsp. (0.5 g) dry yeast - just a tiny bit!)
- ¾ cup Bread flour(100 g)
For the Main Dough
- 1 cup Water(230 ml)
- 2 ½ cups Bread flour(320 g)
- 1¼ tsp. Salt(7 g)
Creating the Biga Starter
- 1Mix the biga starter: In a bowl, combine water with just a tiny bit of fresh yeast (or dry yeast) - only ⅛ teaspoon. Add bread flour and mix well until incorporated.
- 2Understand the biga: It will result in a very stiff dough - this is exactly what you want! Mix until the flour is incorporated. This stiff pre-ferment is called 'biga' and it's amazing for developing flavor.
- 3Prepare for fermentation: Tear the biga into small pieces. This increases the surface area and helps with even fermentation throughout.
- 4First fermentation: Cover and let proof on the counter for 8-12 hours. If your kitchen is warmer than 72°C (22°C), move it to the fridge. The biga will develop an amazing sourdough-like aroma!
- 5Prepare for mixing: Tear the fermented biga again into smaller pieces. This helps with even distribution throughout the final dough.
Making the Final Dough
- 1Combine ingredients: Add water to the torn biga pieces. Then add bread flour and salt. Mix until no dry flour remains - just mix, no need to knead!
- 2First rest: Cover and let rest for 30 minutes. This allows the biga to hydrate fully and the gluten to start developing naturally.Timer Available:First Rest (30:00)
- 3Stretch and fold technique: With a wet hand, stretch the 4 sides of the dough and fold to the center. This gentle folding develops the gluten structure perfectly.
- 4Lift and slap: Lift the dough and slap it back into the bowl. I call this technique 'lift and slap' - it strengthens the dough without aggressive and time consuming kneading.
- 5Second rest: Cover and let rest for 30 minutes. The dough will become much more elastic during this time.Timer Available:Second Rest (30:00)
- 6Repeat the process: Stretch and fold the 4 sides again. The dough is now so much more elastic! Lift and slap once more. The dough feels so smooth!
- 7Final rise: Let rise until it doubles in size - it usually takes about 2 hours. The dough will develop beautiful bubbles throughout.Timer Available:Final Rise (2:00:00)
Shaping and Baking
- 1Prepare for shaping: Sprinkle flour on work surface. Fold the dough so it's easier to cut. Bubbles are always a good sign!
- 2Divide the dough: Divide into 4 equal parts. Each piece will become one beautiful loaf.
- 3Brush off excess flour: Brush off any excess flour from each piece before shaping.
- 4First shaping method: Flatten gently, then fold into a ball. Fold it tightly to create surface tension. Rub against work surface to seal properly. Set aside.
- 5Second shaping method: For variation, try this method - flatten and roll. Roll lengthwise, then fold into a ball and seal.
- 6Rest the shaped loaves: Let them rest for 10 minutes uncovered. This relaxes the gluten for easier final shaping.Timer Available:Shape Rest (10:00)
- 7Final shaping: Gently flatten each piece. Roll and press down with the tips of your fingers - this creates the final loaf structure. Pinch to seal the edge. Place on the baking tray.
- 8Final proof: Cover with a towel and let rise for 30 minutes. The shaped loaves should feel light and puffy when ready.Timer Available:Final Proof (30:00)
- 9Prepare for baking: Preheat oven to 430°F (220°C). Lightly sprinkle flour over the bread and smooth the flour with your hand. They're so nice to the touch!430°F (220°C)
- 10Score the bread: Score the bread with a sharp blade or knife. Make confident cuts to allow proper expansion during baking.
- 11Create steam: Sprinkle a little water around the breads - just a few drops to make steam. Don't spray directly on the loaves.
- 12Cover for steam baking: Cover with another tray of the same size. This creates a perfect steam chamber for crispy crust development.
- 13Steam baking: Bake at 430°F (220°C) for 20 minutes covered. The steam creates that amazing crispy, flaky crust.430°F (220°C)Timer Available:Steam Baking (20:00)
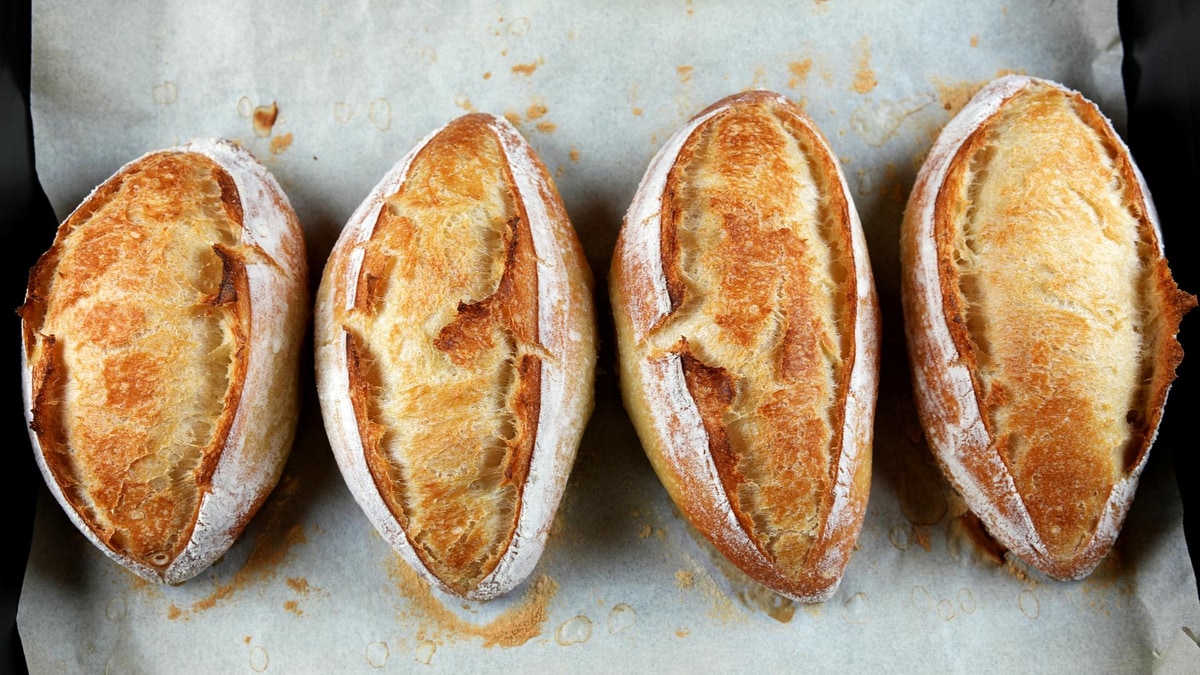
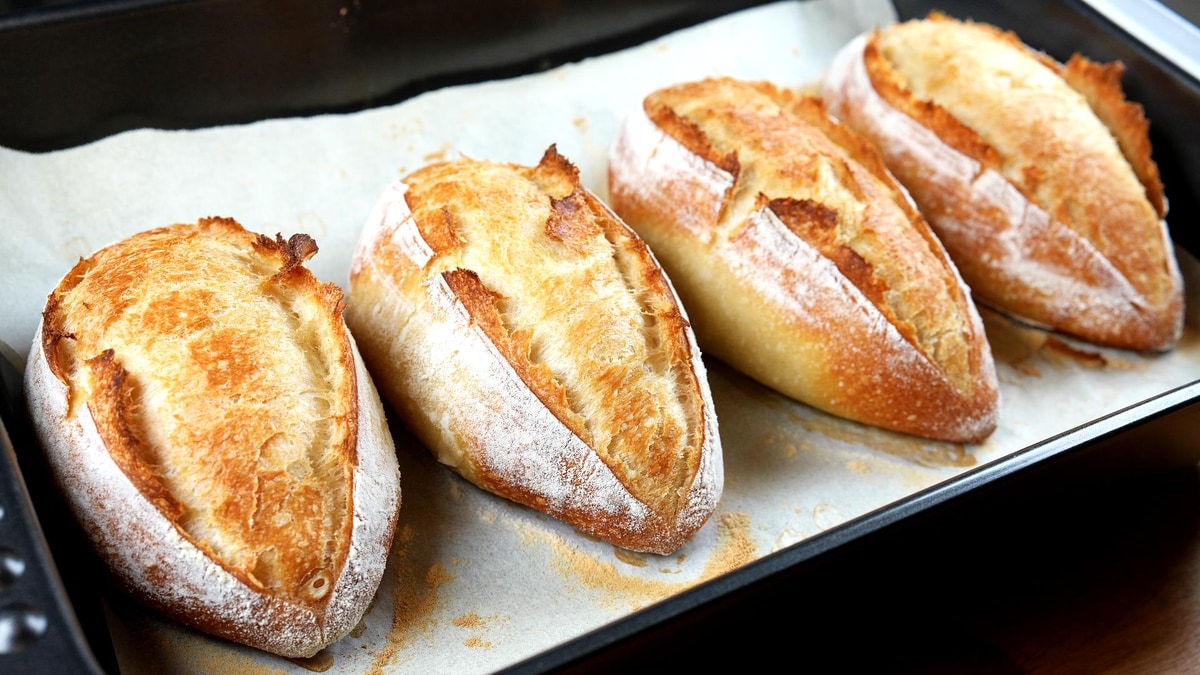
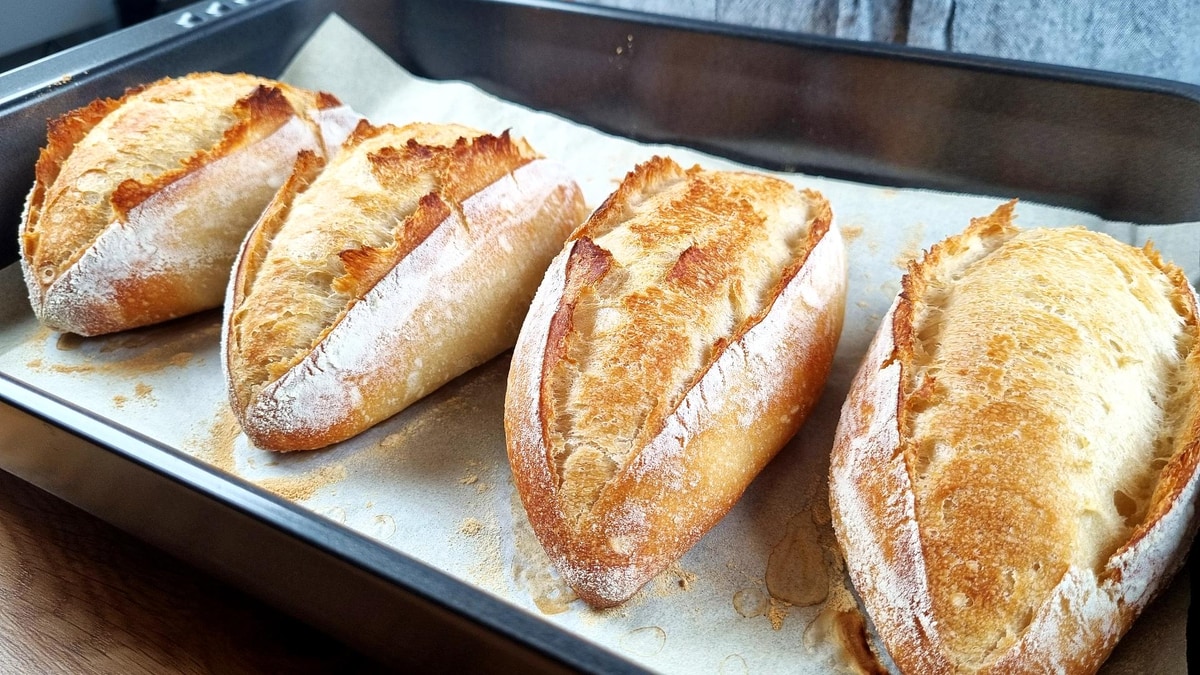
- 14Final baking: Remove the top tray and bake for 10 more minutes. They look great! The crust should be deeply golden.Timer Available:Final Baking (10:00)
Watch the Video Tutorial
See every step in action! Follow along with the complete video guide for perfect results.
You Might Also Like
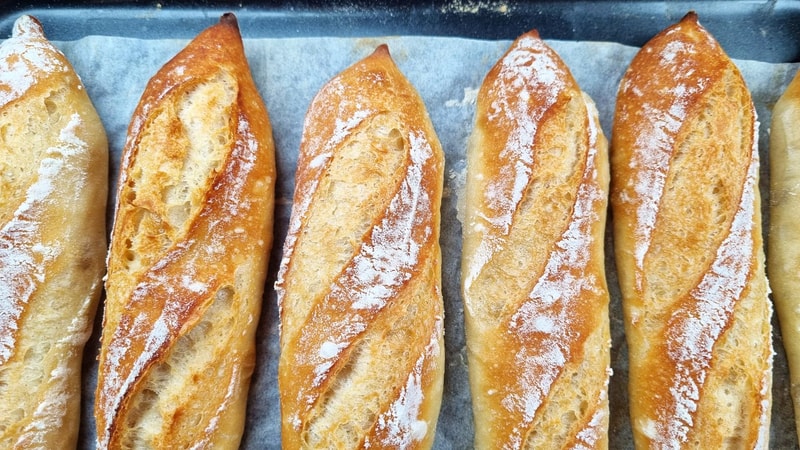
Perfect Mini Baguettes with Spelt Flour
Crispy, flaky outside with soft inside. These mini baguettes combine bread flour and spelt flour for amazing flavor and a crust that sings!
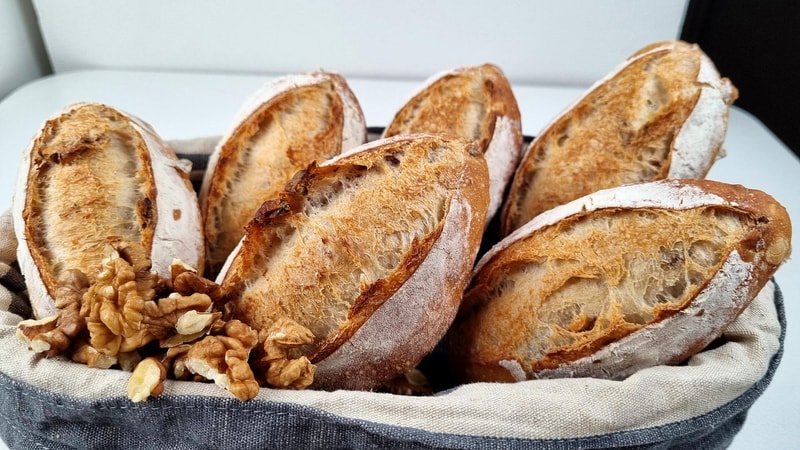
Quick Bread with Walnuts - Crispy Crust & Toasted Nuts
Amazing quick bread rolls with toasted walnuts inside. Crispy crust, soft crumb, and an incredible aroma. No kneading required - just mix, fold, and bake for same-day fresh bread.