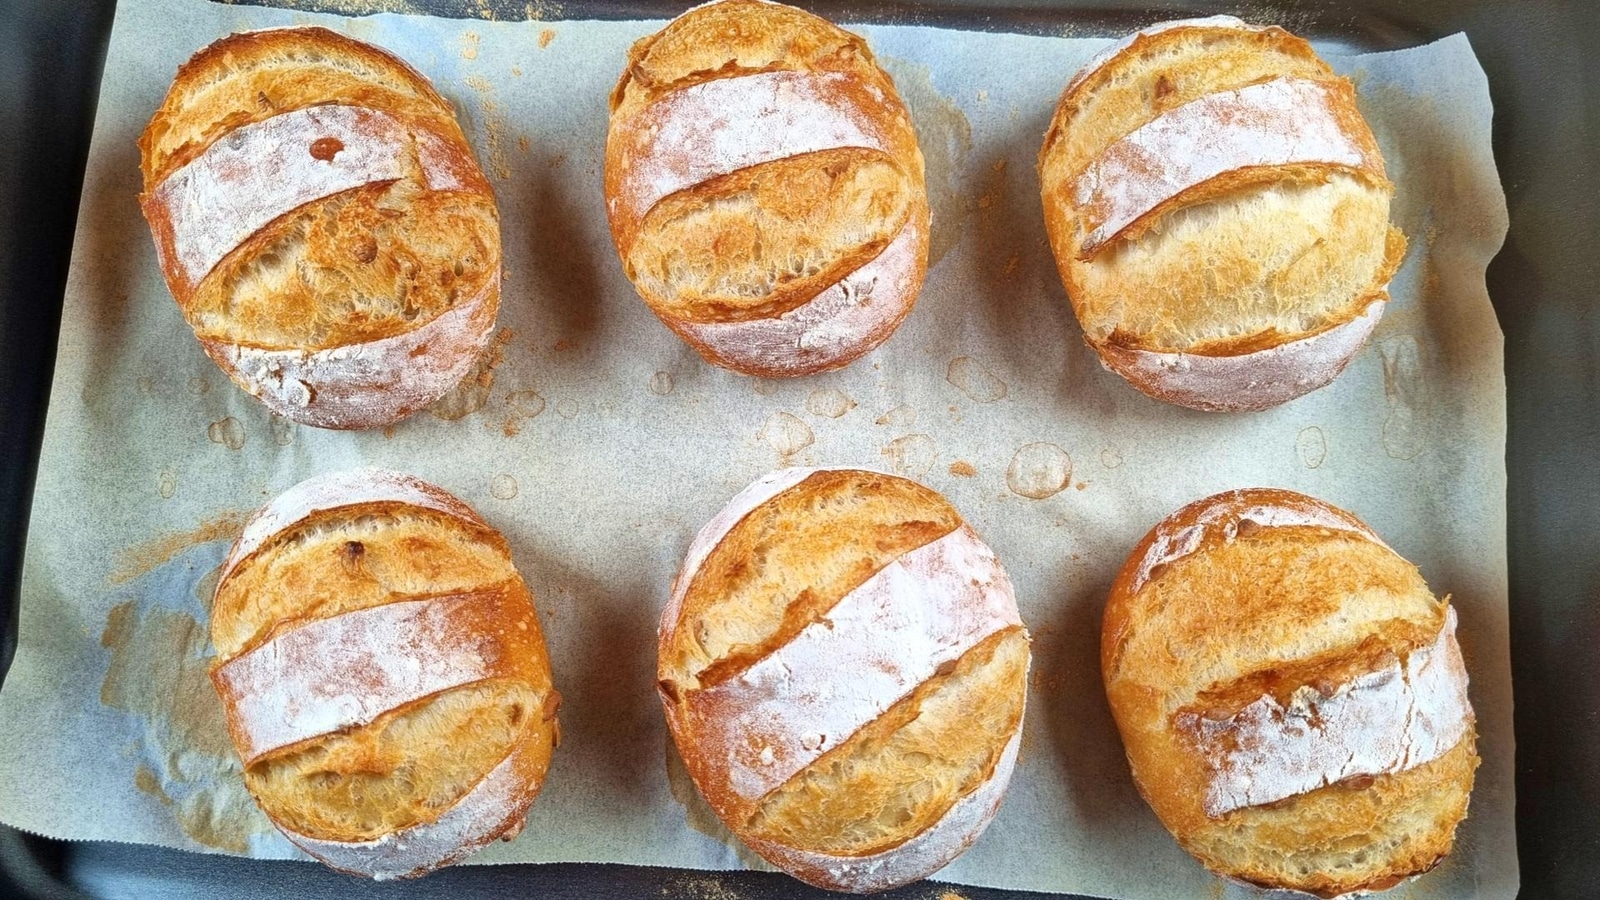
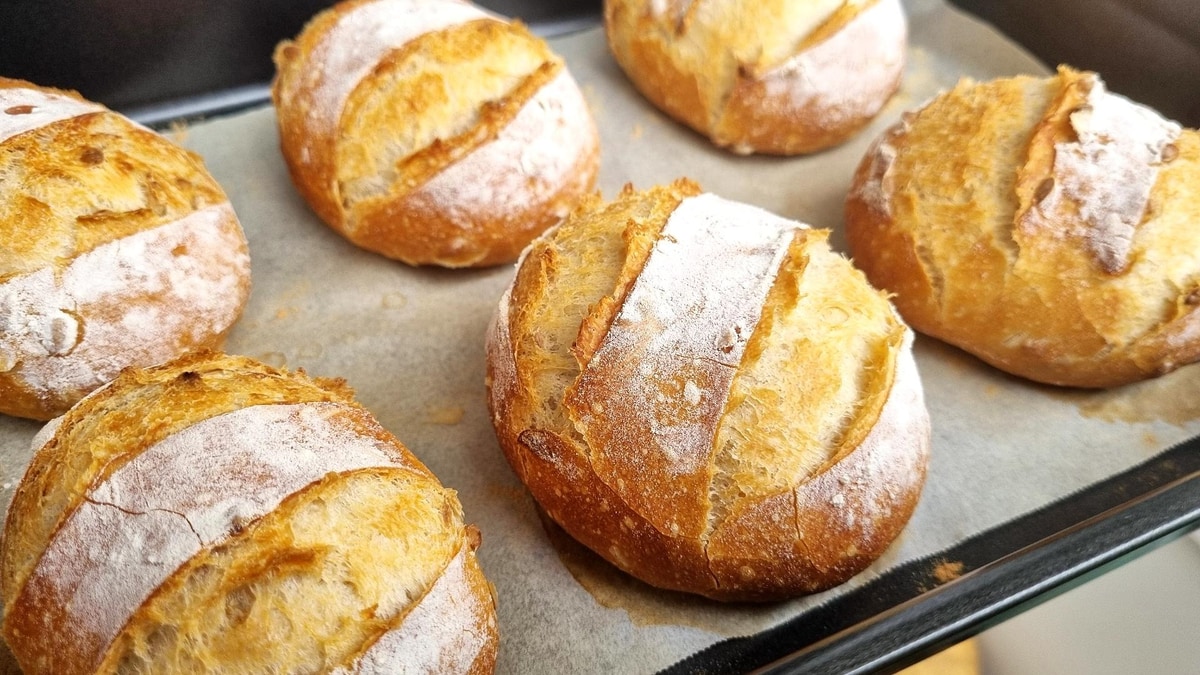
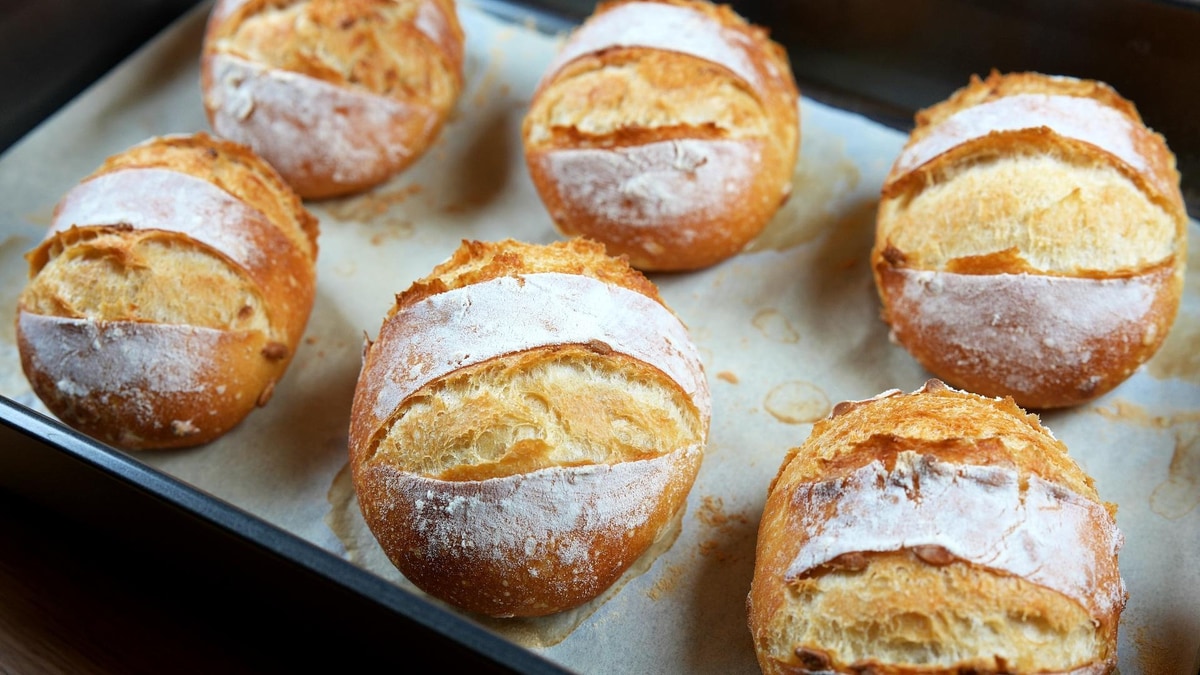
Crispy Sunflower Seed Bread Rolls
Crispy outside, soft inside—the perfect bread recipe! These six beautiful rolls feature sunflower seeds for a nutty crunch, though you can use any seeds you like or none at all. The technique is simple: mix, fold, and shape using two different methods I'll show you.
The result is as crispy as it gets on the outside with an incredibly soft interior. They start singing as the crust cools—just relax and listen to the sweetest song in the world! All they need is a little soft butter to make them absolutely perfect.
Crispy Sunflower Seed Bread Rolls
Ingredients
- 220 ml water
- 3 g fresh yeast(or 2 g dry yeast)
- 320 g bread flour
- 6 g salt
- 30 g sunflower seeds(or any seeds you like, or omit)
Instructions
- 1In a bowl, combine 220 ml water with 3 g fresh yeast (or 2 g dry yeast). Mix until dissolved.
- 2Add 320 g bread flour and 6 g salt. Mix until there's no more dry flour visible. Just mix, no need to knead.
- 3Cover and let rest for 30 minutes.Timer Available:First Rest (30:00)
- 4With a wet hand, stretch the four sides of the dough and fold each to the center. Lift the dough and slap it back into the bowl. Cover and let rest for 30 minutes.Timer Available:Second Rest (30:00)
- 5Add 30 g sunflower seeds (or any seeds you like, or none at all). Repeat the stretching and folding process: stretch and fold the 4 sides (the dough will be so much more elastic now), then lift and slap to incorporate the seeds.
- 6Cover and let rise until doubled in size, usually about 2 hours. Look for visible bubbles—they're always a good sign!Timer Available:Bulk Rise (2:00:00)
- 7Sprinkle flour on your work surface. Fold the dough in half to make it easier to divide, then divide into 6 equal parts. Brush off any excess flour.
- 8Shape the rolls using one of two methods: Method 1: Flatten gently, fold into a ball, make it as tight as possible, then rub against work surface to seal. Method 2: Flatten gently, roll tightly, then roll in the opposite direction to make a ball and rub to seal.
- 9Let the shaped balls rest uncovered for 10 minutes.Timer Available:Bench Rest (10:00)
- 10Fold each ball again to tighten the surface and seal. This helps them hold their shape better. Move each shaped roll to the baking pan.
- 11Cover with a towel and let rise for 30 minutes.Timer Available:Final Rise (30:00)
- 12Preheat oven to 430°F (220°C). Lightly sprinkle flour over the bread and smooth it with your hand (they're so nice to the touch!). Score the bread with a lame or sharp knife.
- 13Sprinkle a little water around the bread (just a few drops for steam). Cover with another tray of the same size.
- 14Bake at 430°F (220°C) for 20 minutes.Timer Available:Covered Bake (20:00)
- 15Remove the top tray and bake for 10 more minutes, or until you're happy with the color. The rolls will start singing as the crust cools—hollow taps mean they're perfectly baked!Timer Available:Final Bake (10:00)

Tips for Success
- Two shaping methods: I show you two different ways to shape the rolls. Try both and use whichever feels most comfortable—both create beautiful, tight balls!
- Flexible seed choice: You can use sunflower seeds, sesame seeds, flax seeds, or any seeds you like. Or skip them entirely for plain crispy rolls.
- Double shaping for structure: Shaping the rolls twice (once after dividing, once after resting) creates a tighter surface that holds its shape beautifully during baking.
- Listen to the singing: As the rolls cool, the crust will make small cracking sounds—just relax and listen to the sweetest song in the world! This means your crust is perfectly crispy.
Watch the Video Tutorial
See every step in action! Follow along with the complete video guide for perfect results.
You Might Also Like
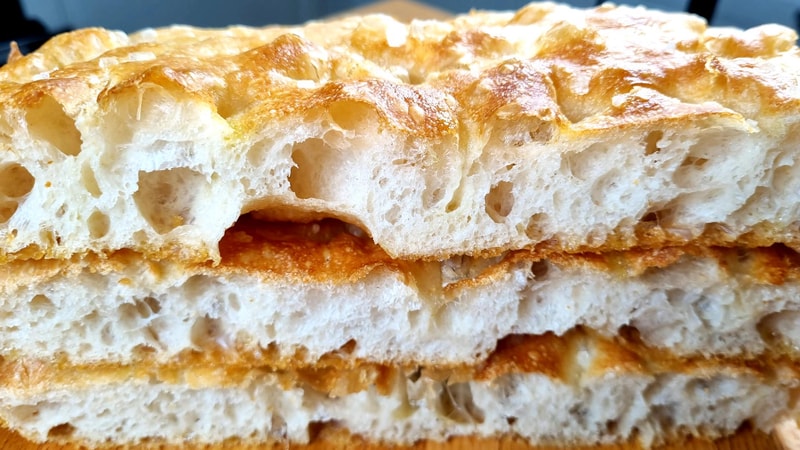
Perfect Focaccia Bread - Overnight 4-Ingredient Recipe
You can get this marvel with just 4 ingredients! Crispy crust, light and airy inside. No kneading required, just simple folds and overnight refrigeration create focaccia perfection.

Soft Braided Yogurt Bread with Crispy Crust - Perfect for Sandwiches
This braided bread is incredibly satisfying to make! With a thin, crispy crust and soft-as-a-feather inside, it's perfect for sandwiches. The yogurt adds amazing softness while the unique covered baking technique creates the thinnest, crispiest crust.