frenchartisanbeginner friendly

Perfect Mini Baguettes with Single Cut
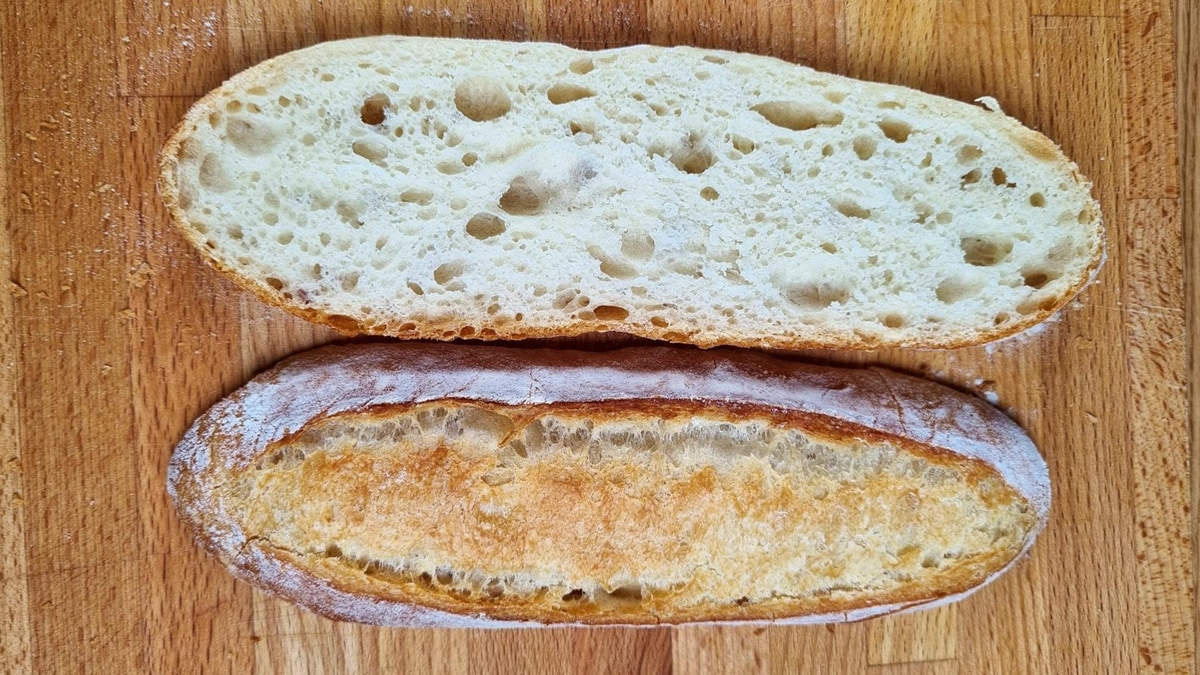
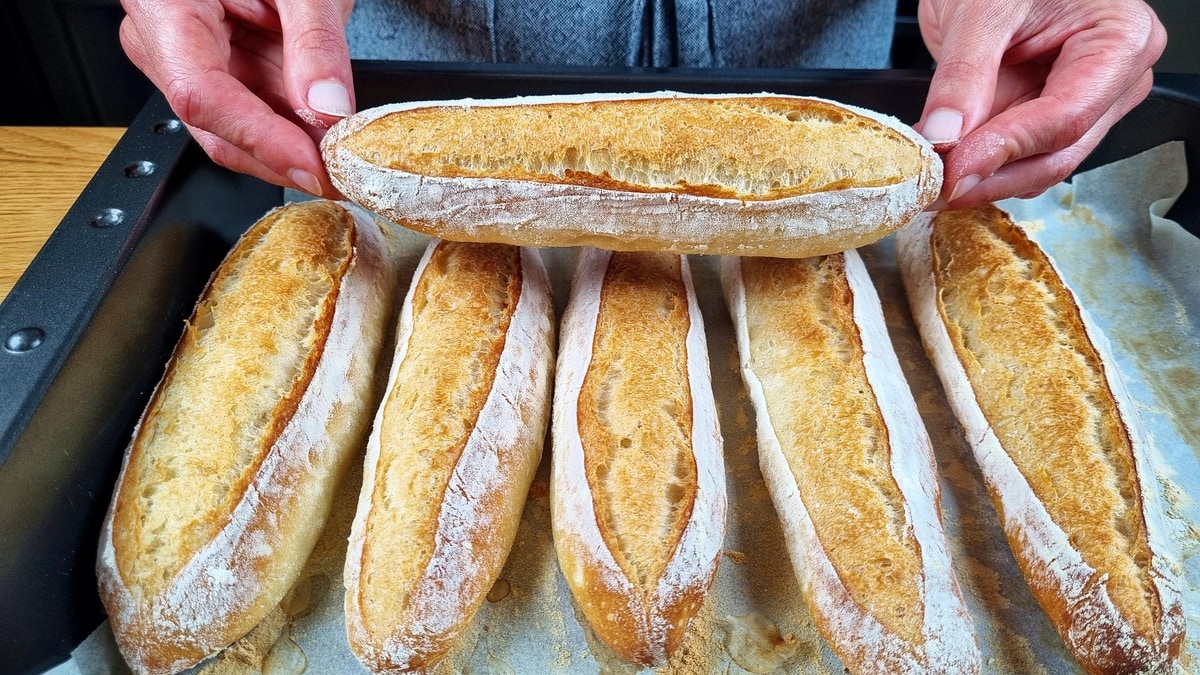
Perfectly crisp crust, soft inside
Perfectly crisp crust, soft inside! One bite and you'll be hooked. Can't wait for you to try it! These mini baguettes are shaped with care using the lift and slap technique, then scored with a single elegant cut. The process is so therapeutic!
Perfect Mini Baguettes Recipe
Watch the complete process of making these beautiful mini baguettes
You can follow along with the video above to see the baguette shaping technique and learn the single-cut scoring method. Watch how crispy they turn out!
Ingredients
- 220 ml Water(1 cup)
- 3 g Fresh yeast(¾ tsp, or 2g dry yeast (½ tsp))
- 320 g Bread flour(2½ cups)
- 6 g Salt(1 tsp)
Step-by-Step Instructions
- 1Mix the dough: In a bowl, combine water (220ml) with fresh yeast (3g) or dry yeast (2g). Mix well. Add bread flour (320g) and salt (6g). Mix until there's no more dry flour - just mix, no need to knead. Cover and let rest for 30 minutes. A timer will remind you of the next step.Timer Available:First Rest (30:00)
- 2First stretch and fold: With a wet hand, stretch the 4 sides of the dough and fold to the center. Lift the dough and slap it back - I call this technique "lift and slap". Cover and let rest for 30 minutes.Timer Available:Second Rest (30:00)
- 3Second stretch and fold: Repeat the steps from before - stretch and fold the 4 sides. The dough now is much more elastic! Lift and slap. Now the dough is ready for the final rise. Let rise until it doubles in size - it usually takes about 2 hours.Timer Available:Main Rise (2:00:00)
- 4Divide and pre-shape: Sprinkle flour on work surface. Fold the dough so it's easier to cut - bubbles are always a good sign! Divide into 6 equal parts. Bubbles! Brush off any excess flour. Flatten very gently. Fold the dough piece to preshape the baguette. Seal the seam by pinching it. This is just a pre-shape, it doesn't have to be perfect. Repeat for all pieces. Let them rest for 10 minutes uncovered.Timer Available:Pre-shape Rest (10:00)
- 5Final shaping: Gently flatten each piece. Roll and press down with your fingers. Roll tightly. Seal the edge by pinching it. Roll the ends to make them pointy. Move to baking tray. Repeat for all pieces. The process is so therapeutic!
- 6Final rise: Cover with a towel and let rise for 30 minutes.Timer Available:Final Rise (30:00)
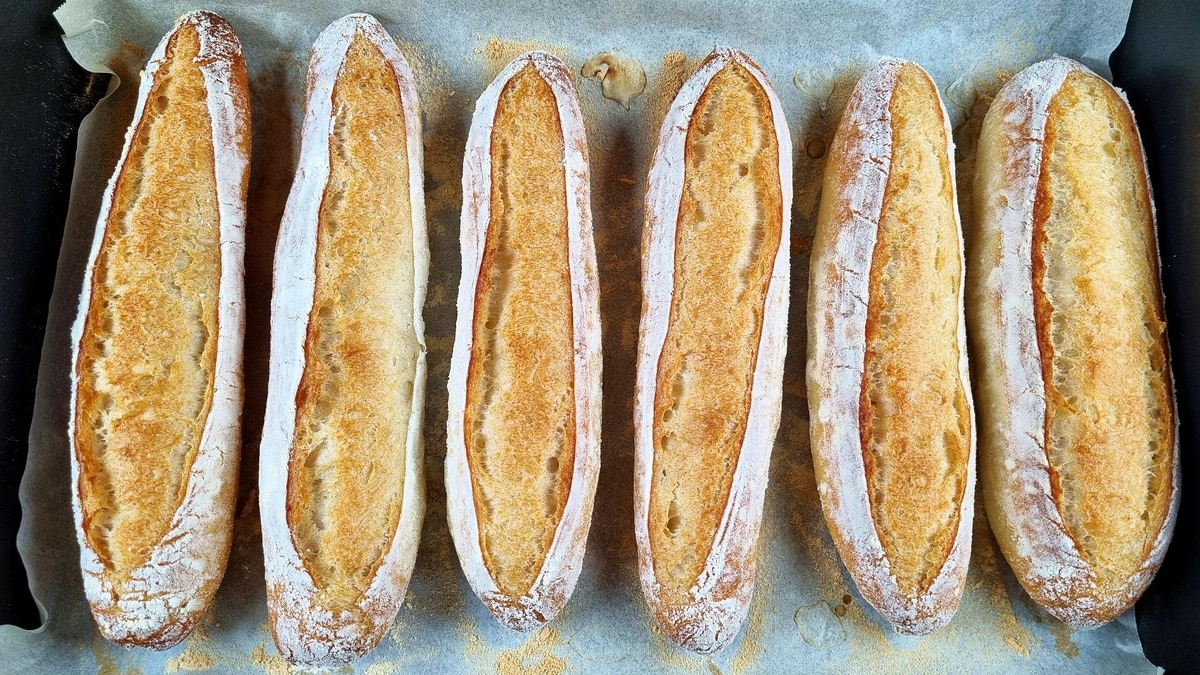
- 7Prepare for baking: Lightly sprinkle flour over the breads. Smooth the flour with your hand - they're so nice to the touch! Score the bread with a sharp blade or knife. Today I'll try a single cut! Sprinkle a little water around the breads - just a few drops to make steam.
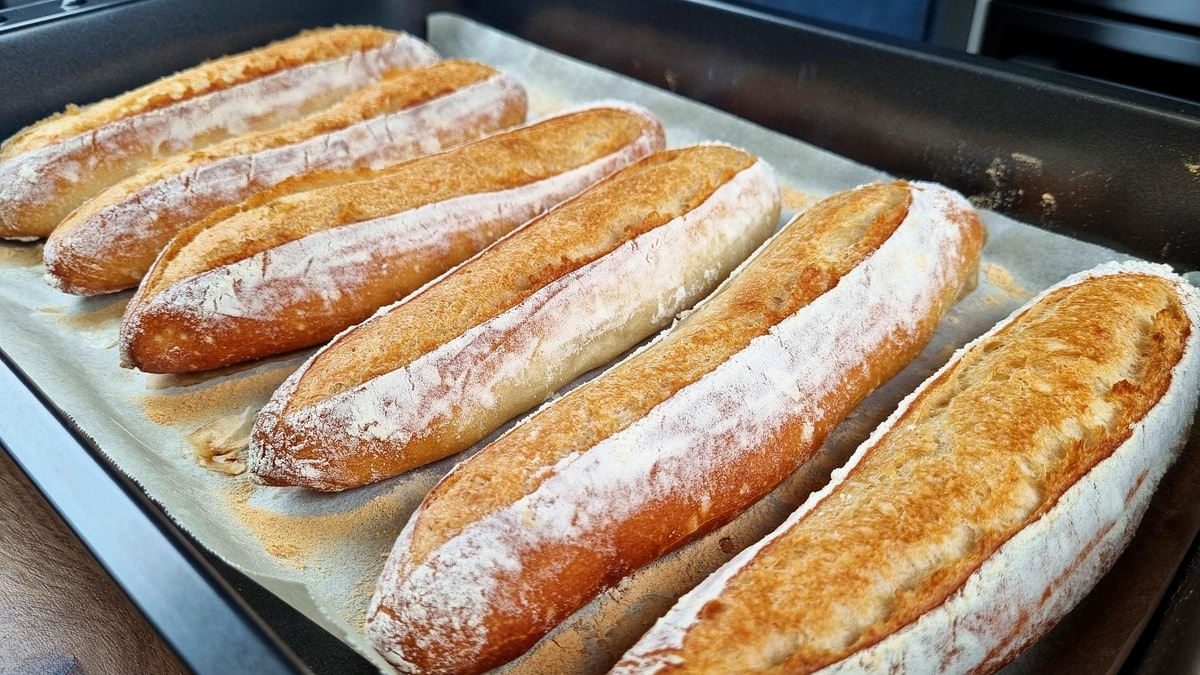
- 8Bake: Cover with another tray of the same size and bake at 430°F (220°C) for 20 minutes. Remove the top tray and bake for 10 more minutes until beautifully golden.430°F (220°C)Timer Available:Baking Time (30:00)
- 9Cool and serve: They look great! They sing as small cracks form on the crust - I could listen to this all day! Hollow taps mean it's perfectly baked. As crispy as it gets! Now let's see inside - what do you think? Crispy crust, soft inside. Now the most important thing - the butter! YUM!
Watch the Video Tutorial
See every step in action! Follow along with the complete video guide for perfect results.
You Might Also Like
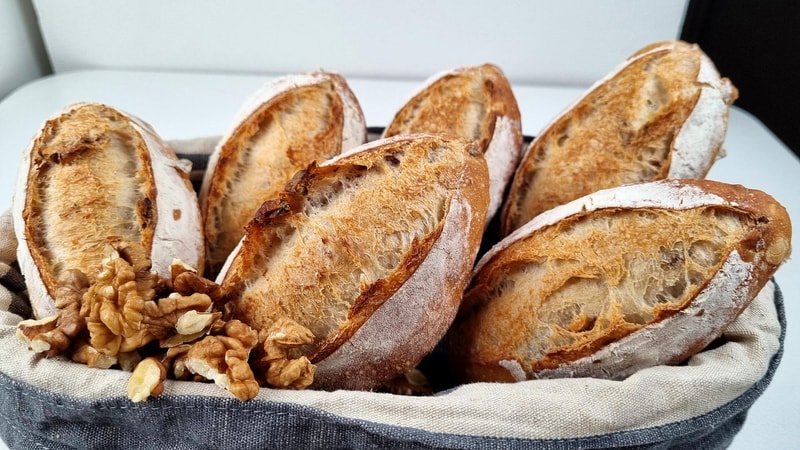
Quick Bread with Walnuts - Crispy Crust & Toasted Nuts
Amazing quick bread rolls with toasted walnuts inside. Crispy crust, soft crumb, and an incredible aroma. No kneading required - just mix, fold, and bake for same-day fresh bread.
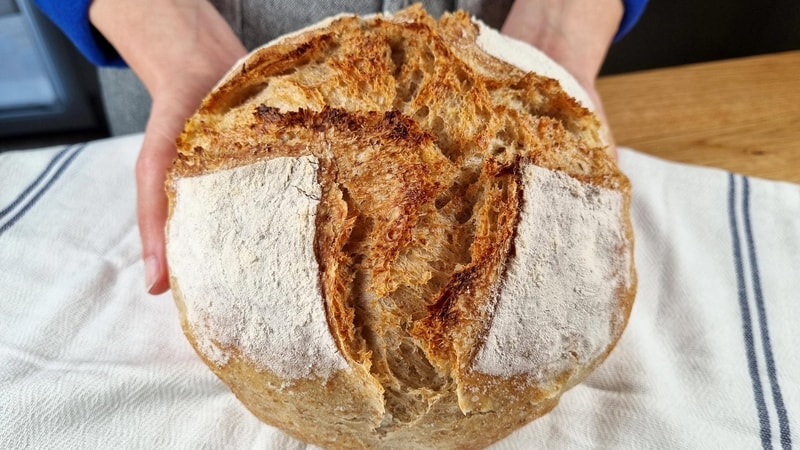
Whole Wheat Biga Bread - Amazing Flavor
Super fluffy inside with crispy crust outside and whole wheat flour! This overnight biga starter gives the bread amazing flavor. So soft it's like touching a cloud!