
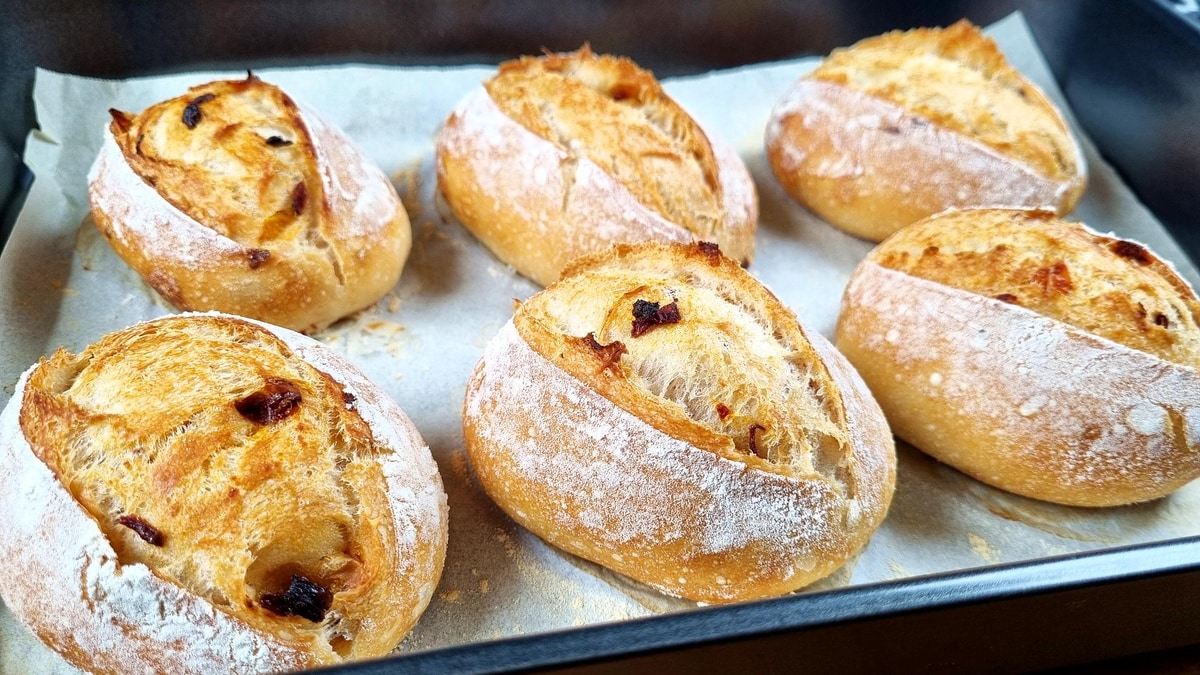
No-Knead Sun-Dried Tomato Bread
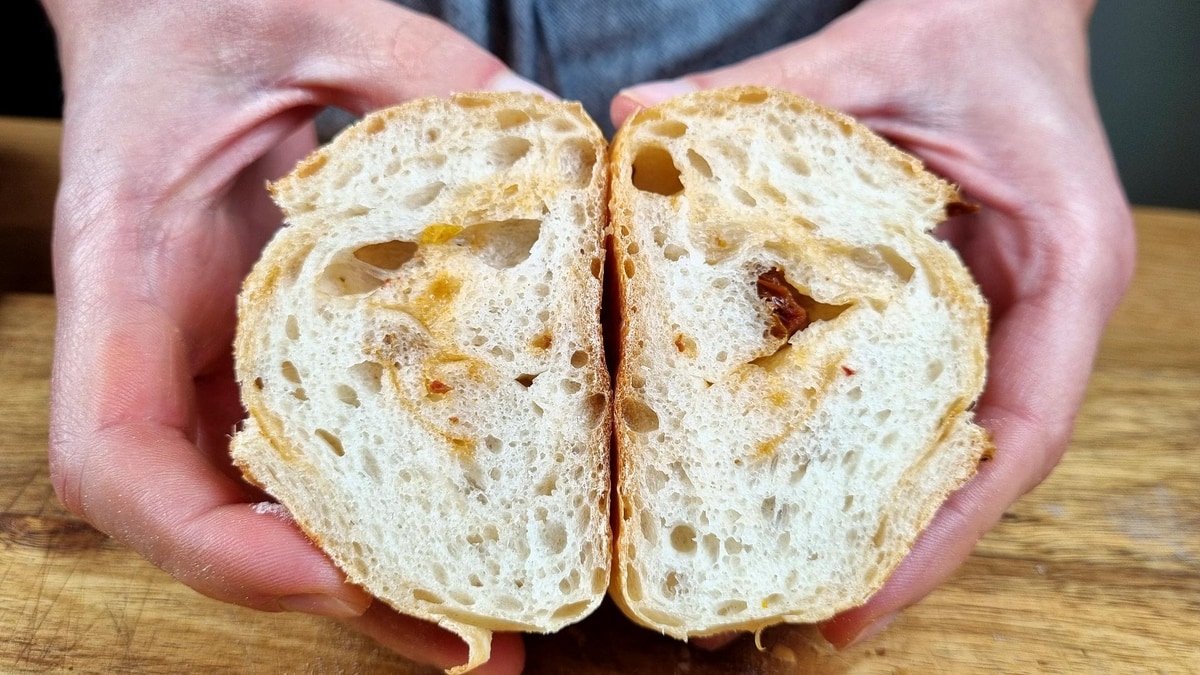
This no-knead bread has a very nice surprise inside—sun-dried tomatoes that shine in every bite! I love this recipe because it requires absolutely no kneading. Just mix the dough, do a couple of simple stretch-and-fold sessions, and you're rewarded with bread that has an amazing crispy crust and a soft, airy inside.
The technique I use is called "lift and slap," and it's incredibly therapeutic to make. The tomatoes I use are from my garden, preserved in olive oil, but store-bought sun-dried tomatoes work perfectly too. You can follow along with the video below to see the entire process.
No-Knead Sun-Dried Tomato Bread
Ingredients
- 220 ml water(1 cup)
- 3 g fresh yeast(¾ tsp, or 2g dry yeast (½ tsp))
- 320 g bread flour(2 ½ cups)
- 6 g salt(1 tsp)
- 30 g sun-dried tomatoes(¼ cup, chopped into smaller pieces)
Instructions
- 1In a bowl, combine 220 ml water with 3 g fresh yeast (or 2 g dry yeast). Mix until dissolved. Add 320 g bread flour and 6 g salt. Mix until there's no more dry flour visible—just mix, no need to knead.
- 2Cover and let rest for 30 minutes.Timer Available:First Rest (30:00)
- 3With a wet hand, stretch the 4 sides of the dough and fold them to the center. Lift the dough and slap it back into the bowl (the "lift and slap" technique). This step takes about 15 seconds.
- 4Cover and let rest for 30 minutes.Timer Available:Second Rest (30:00)
- 5Chop 30 g sun-dried tomatoes into smaller pieces and add them to the dough. Repeat the stretch-and-fold technique from before—stretch the 4 sides and fold to the center. The dough will be much more elastic now. Lift and slap.
- 6Cover and let rise until it doubles in size, usually about 2 hours.Timer Available:Bulk Rise (2:00:00)
- 7Sprinkle flour on your work surface. Fold the dough so it's easier to cut. Divide into 6 equal parts. Brush off any extra flour.
- 8Shape each piece: Flatten gently, then either fold into a ball and make it as tight as possible (pinch and rub against work surface to seal), or roll tightly and fold into a ball. Seal the bottom. Let them rest for 10 minutes uncovered.Timer Available:Bench Rest (10:00)
- 9For final shaping, fold each dough ball to tighten the surface, pinch to seal, then roll into a longer shape with your palm. Move to a baking tray. Cover with a towel and let rise for 30 minutes.Timer Available:Final Rise (30:00)
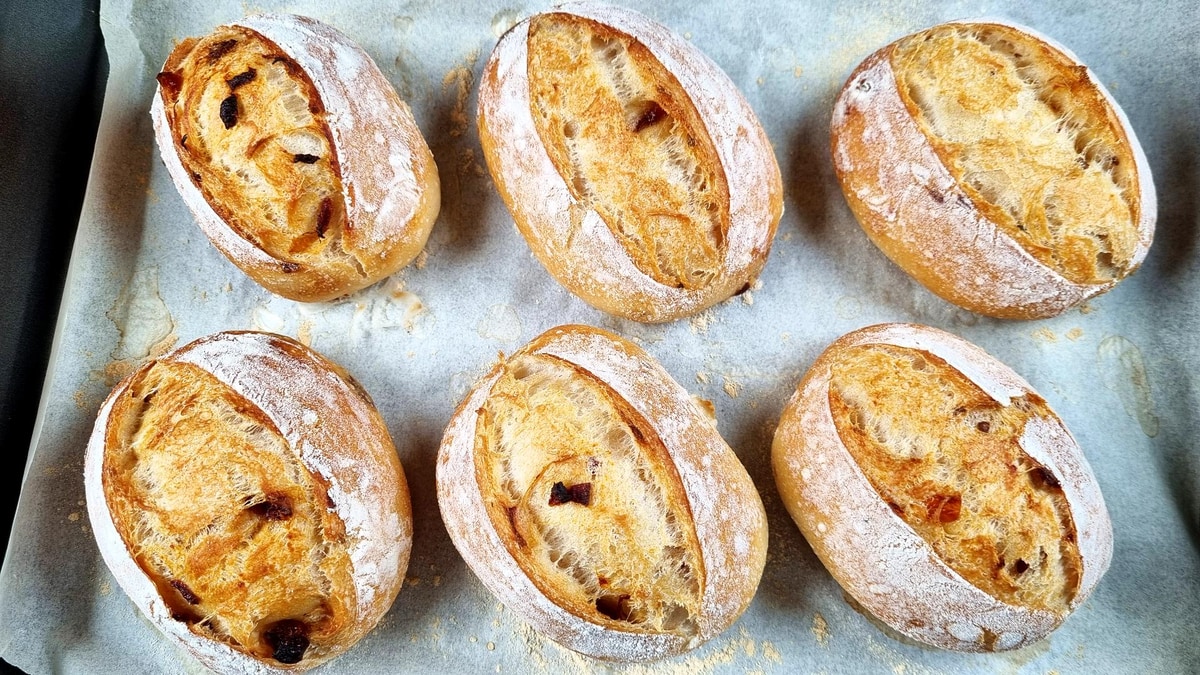
- 10Lightly sprinkle each loaf with flour and smooth it with your hand for a rustic look. Score the bread with a sharp blade or knife to help it expand nicely.
- 11Sprinkle a little water around the bread (just a few drops for steam). Cover with another tray of the same size. Bake at 430°F (220°C) for 20 minutes.Timer Available:Initial Bake (20:00)
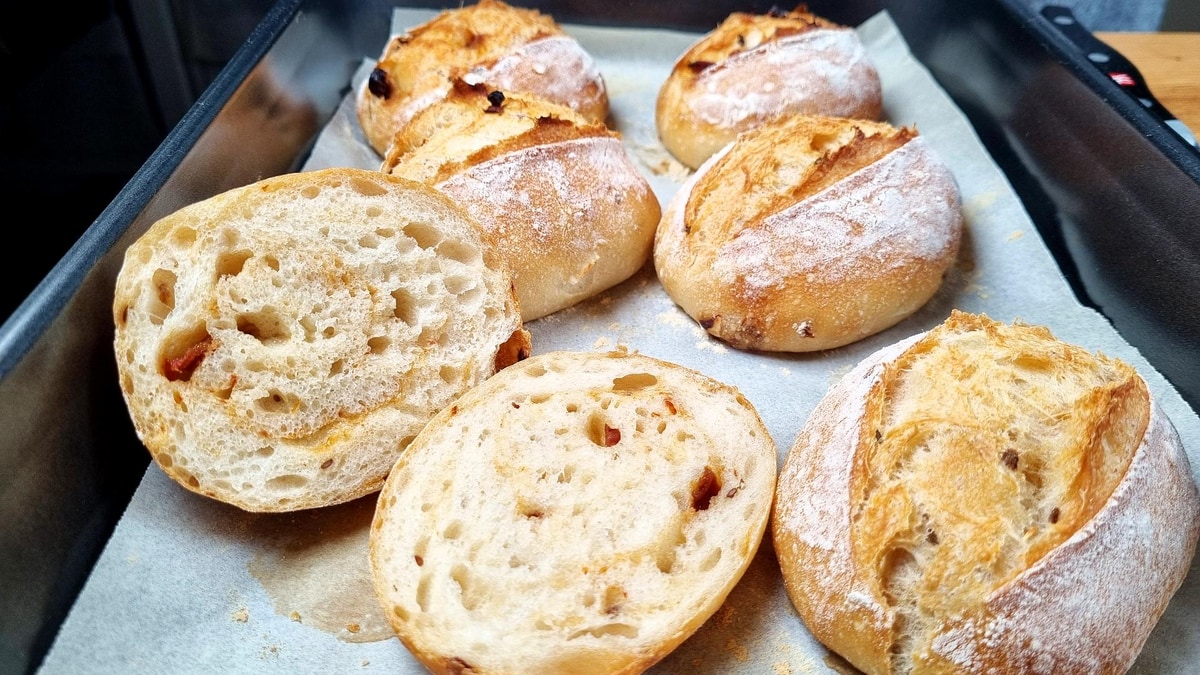
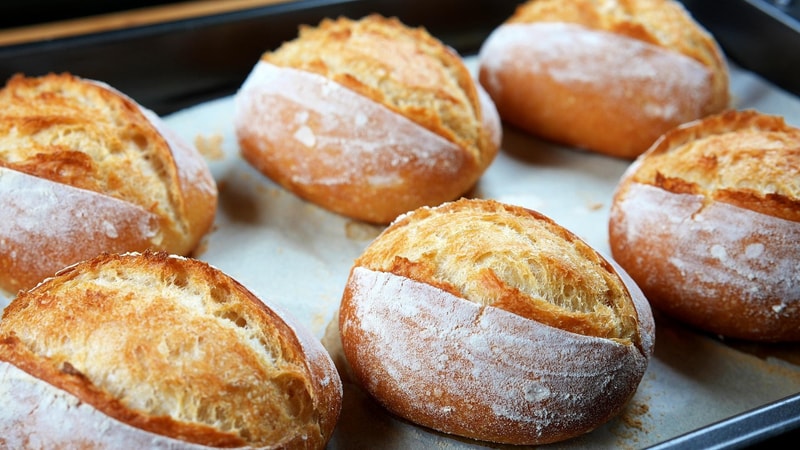
- 12Remove the top tray and bake for 10 more minutes until golden brown. The bread should sing as small cracks form on the crust—that's a sign it's perfect. Tap the bottom—a hollow sound means it's perfectly baked.Timer Available:Final Bake (10:00)

Watch the Video Tutorial
See every step in action! Follow along with the complete video guide for perfect results.
You Might Also Like
Spelt Crusty Bread Rolls
Crispy outside and soft inside, these easy spelt bread rolls use a no-knead method with simple folds. Great everyday rolls with balanced flavor and texture.

Traditional Sharing Bread - Family Recipe
This bread is very dear to me - in my family, we call it 'sharing bread.' It's meant to be pulled apart and shared. With crispy, flaky crust and soft-as-cloud interior, this simple no-knead bread creates beautiful moments around the table.