artisanwhole grainbeginner friendly
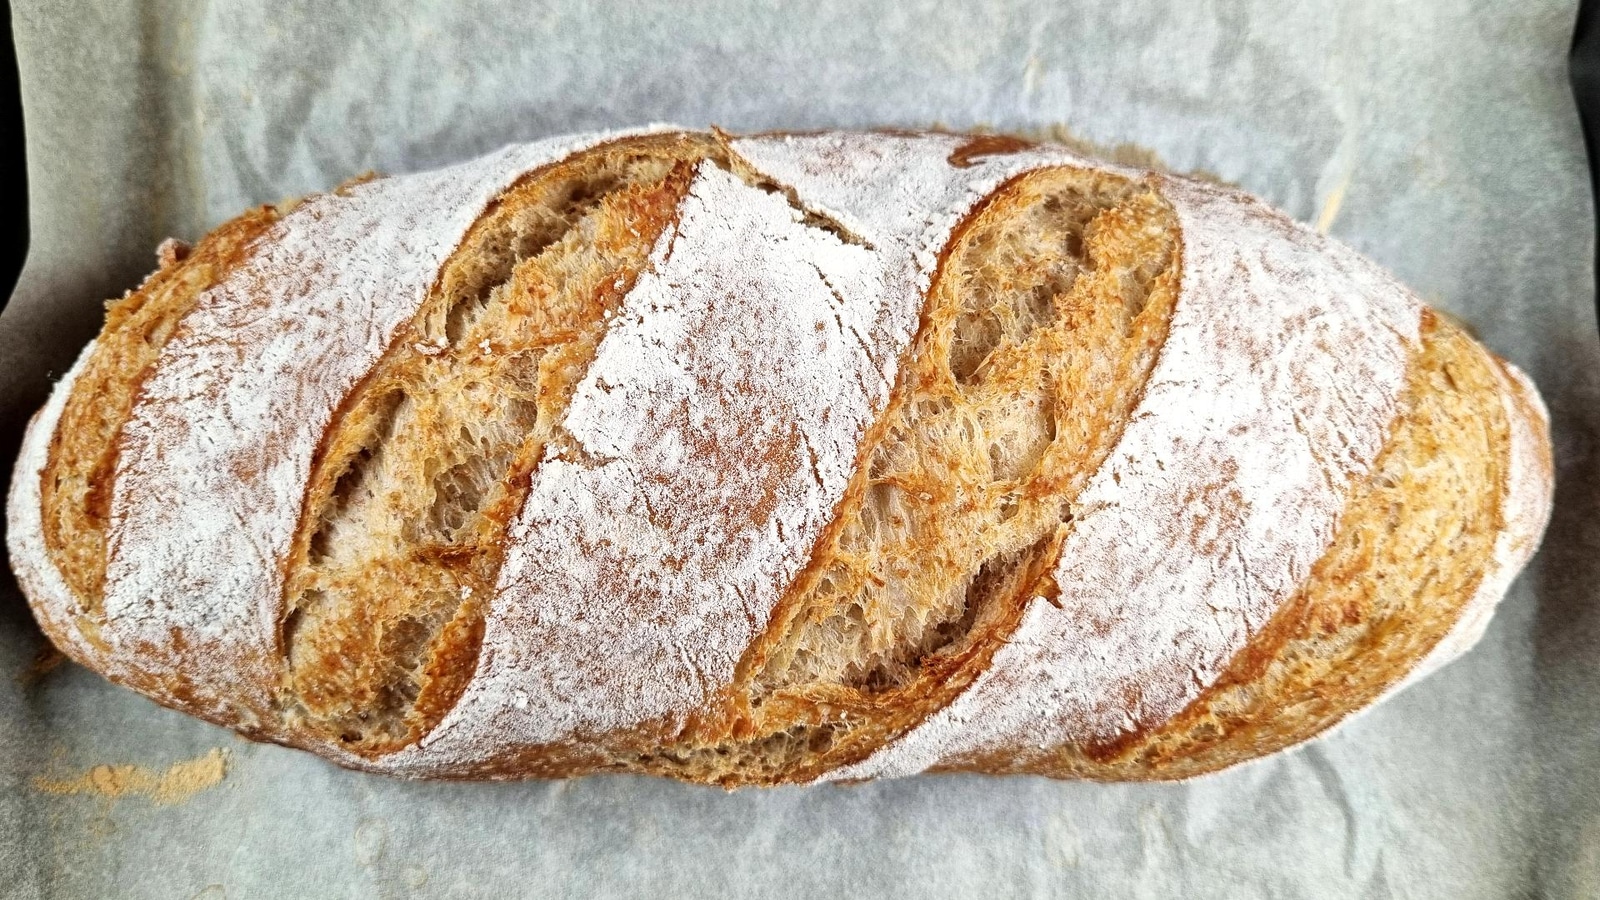
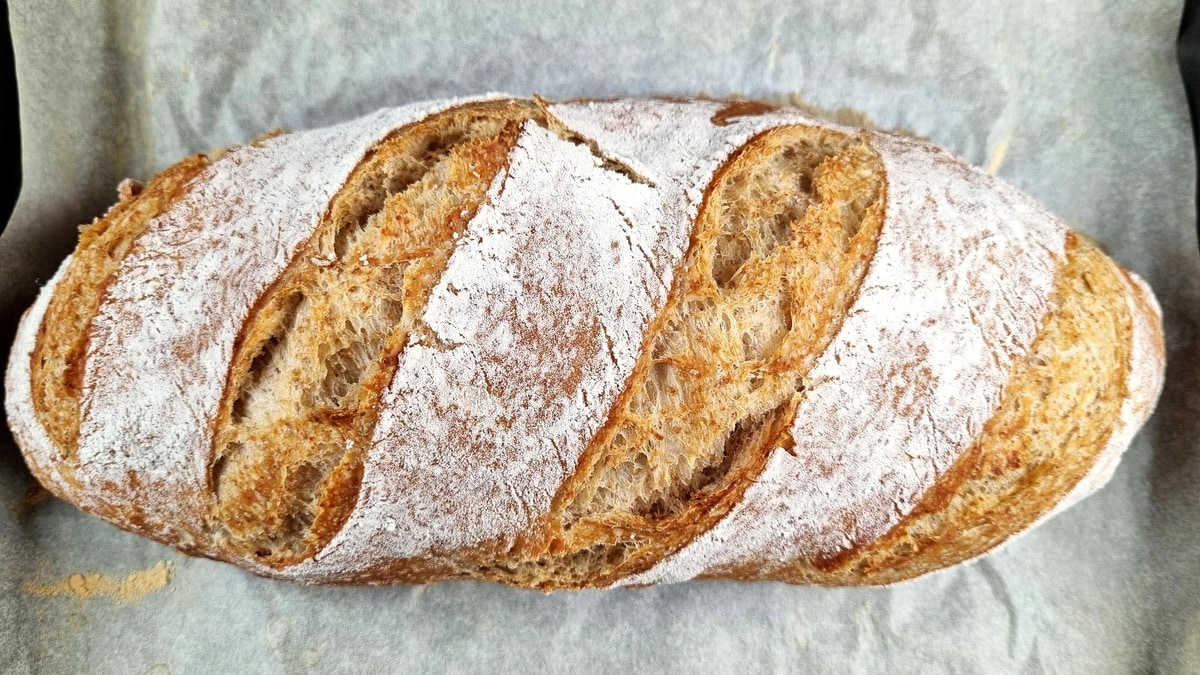
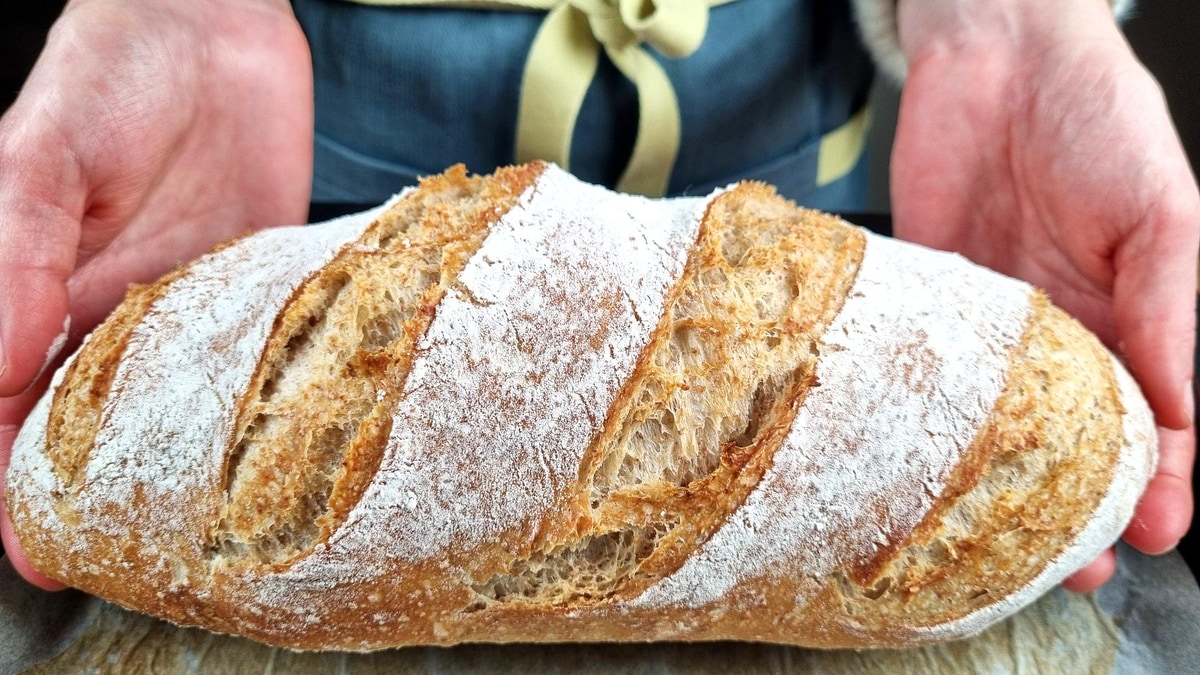
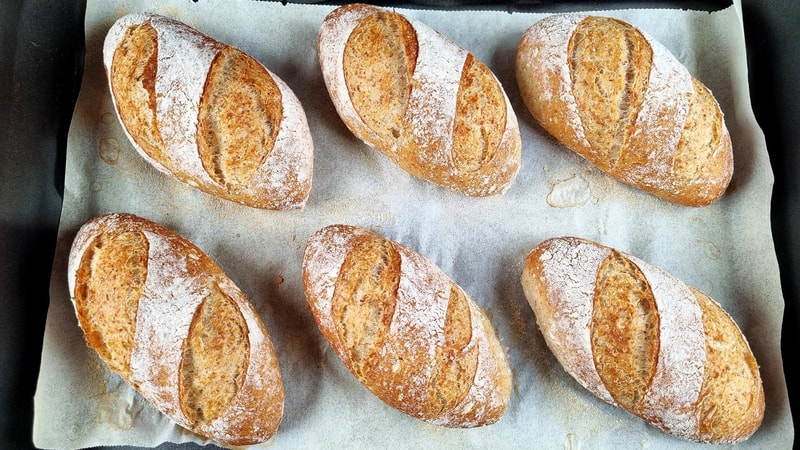
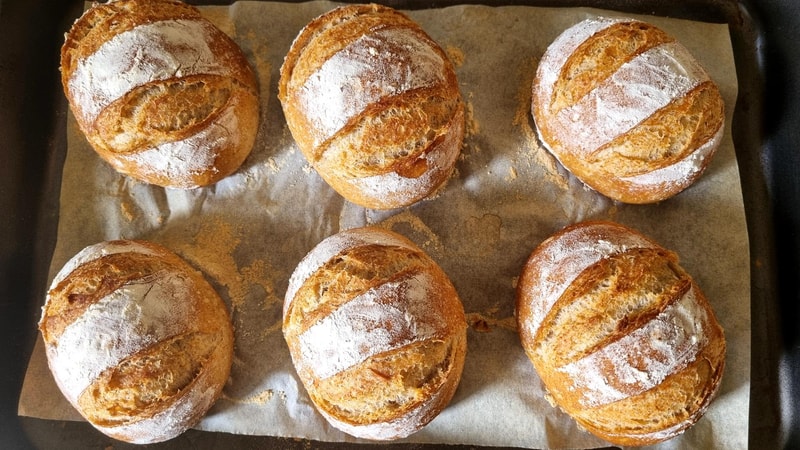
Rustic Whole Wheat Artisan Bread
Crispy outside, incredibly soft inside with amazing whole wheat flavor
This rustic bread tastes amazing! With a crispy, flaky crust and incredibly soft inside, this whole wheat artisan bread proves that healthy can be delicious. The whole wheat flour adds great flavor and nutrition while the lift-and-slap technique creates perfect texture. This is a simple, no-knead bread that looks and tastes like it came from a professional bakery.
How to Make Rustic Whole Wheat Artisan Bread
Follow along with this visual guide to see the complete artisan bread-making process
You can follow along with the video above to see exactly how to shape this beautiful rustic loaf. Watch the lift-and-slap technique in action and see how to create that signature artisan look.
Ingredients
- 230 ml Water(1 cup)
- 3 g Fresh yeast(1 tsp, or 2g dry yeast (½ tsp))
- 220 g Bread flour(1½ cups)
- 100 g Whole wheat flour(¾ cup)
- 6 g Salt(1 tsp)
Step-by-Step Instructions
- 1Mix the dough: In a bowl, combine water (230ml) with fresh yeast (3g) or dry yeast (2g). Mix well. Add bread flour (220g), whole wheat flour (100g), and salt (6g). Mix until there's no more dry flour - just mix, no need to knead. Cover and let rest for 30 minutes.Timer Available:First Rest (30:00)
- 2First stretch and fold: With a wet hand, stretch the 4 sides of the dough and fold them to the center. This will build a strong gluten network. Lift the dough and slap it back - I call this technique "lift and slap". Cover and let rest for 30 minutes.Timer Available:Second Rest (30:00)
- 3Second stretch and fold: Repeat the steps from before - stretch and fold the 4 sides, then lift and slap. Leave to rise until it has doubled in size, usually about 2 hours.Timer Available:Main Rise (2:00:00)
- 4Pre-shape: Sprinkle flour on your work surface and fold the dough in half. Fold the dough into a ball and seal the bottom. Let the ball rest for 10 minutes uncovered.Timer Available:Ball Rest (10:00)
- 5Final shaping: Turn the dough ball upside down. Gently flatten it, then roll and press down with your fingers. Pinch the seam to seal it. Place on a baking tray.
- 6Final rise: Cover with a towel and let rise for 30 minutes.Timer Available:Final Rise (30:00)
- 7Prepare for baking: Lightly sprinkle flour over the bread and smooth it with your hand. Score the bread with a sharp blade or knife in your preferred pattern. Sprinkle a little water around the bread.
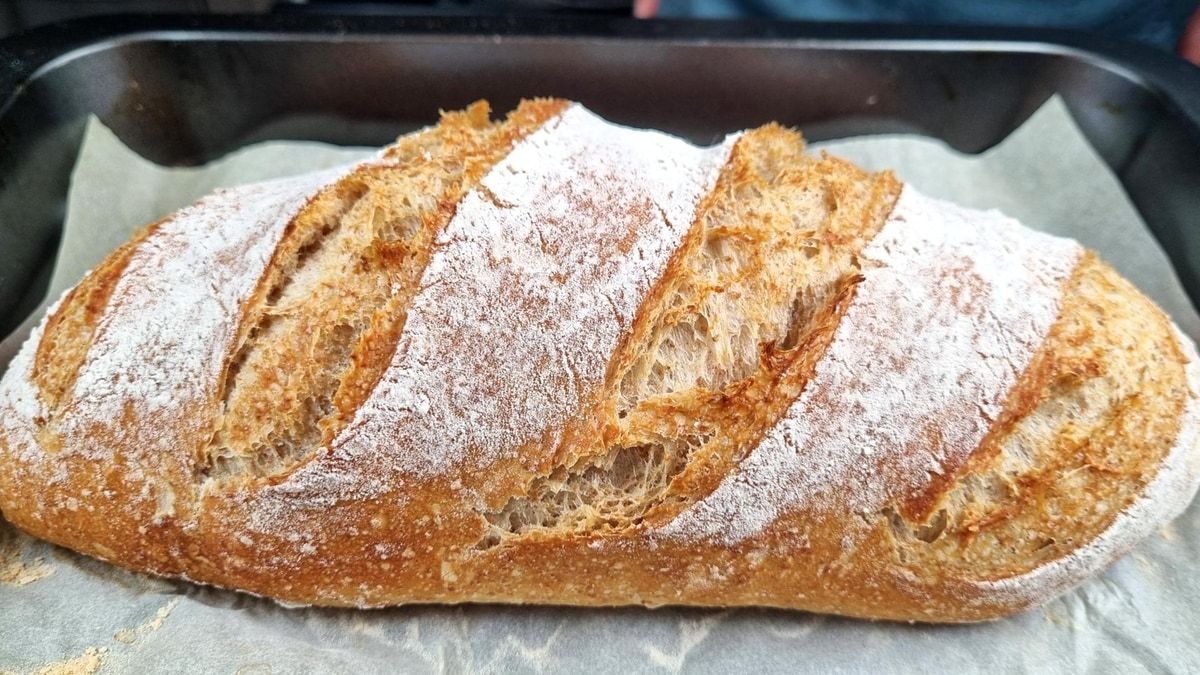
- 8Bake: Cover with another tray of the same size and bake at 430°F (220°C) for 25 minutes. Remove the top pan and bake for 10 more minutes until the crust is golden and flaky.430°F (220°C)Timer Available:Baking Time (35:00)
- 9Cool and serve: The bread should sing when tapped - this is a sign of great bread! The crust is crispy and flaky, the interior soft and fluffy. The color is amazing! Let cool slightly before slicing to reveal how incredibly soft it is.
Watch the Video Tutorial
See every step in action! Follow along with the complete video guide for perfect results.
You Might Also Like
Perfect Whole Wheat Artisan Rolls
Crispy, airy, absolutely perfect! Whole wheat adds so much flavor - mouthwatering! These same-day rolls use the lift and slap technique for perfect texture.
Quick Whole Wheat Bread - Crispy Crust, Soft Inside
Amazing quick bread made with a blend of whole wheat and bread flour. Crispy crust, soft inside, and a delightful aroma. No kneading required for same-day fresh bread with incredible flavor.