
Sharing Bread Rolls
This bread is amazing and so easy to make! Perfect for sharing! I don't buy bread anymore because I make these incredible sharing rolls at home. They have the coolest feature - they're easily divided into wedges, which makes them perfect for sharing.
Using the simple "lift and slap" technique and a therapeutic shaping process with fork pressing, these rolls are pleasantly chewy and full of bubbles. You can easily use them for burgers too! This process is so therapeutic. Follow along with the video below!
Watch how to make perfect sharing bread rolls!
Ingredients
- 220 ml Water(1 cup)
- 3 g Fresh yeast(¾ tsp, or 2g dry yeast (½ tsp))
- 320 g Bread flour(2 ½ cups, plus extra for dusting)
- 6 g Salt(1 tsp)
Step-by-Step Instructions
- 1Mix the dough: In a bowl, combine 220ml water and 3g fresh yeast. Mix. Add 320g bread flour and 6g salt. Mix until there's no dry flour visible - no kneading needed.
- 2First stretch and fold: Cover and let rest for 30 minutes. With a wet hand, stretch the 4 sides of the dough and fold each to the center. Lift the dough and slap it back.Timer Available:First Rest (30:00)
- 3Second stretch and fold: Cover and let rest for 30 more minutes. Repeat the stretch and fold technique, then lift and slap again.Timer Available:Second Rest (30:00)
- 4Main rise: Leave to rise until it has doubled in size, usually about 2 hours.Timer Available:Main Rise (2:00:00)
- 5Divide and pre-shape: Sprinkle flour on work surface. Fold the dough so it's easier to cut - full of bubbles is a great sign! Cut into 6 equal parts. For each piece: flatten slightly, roll, fold into a ball, and rub against work surface to seal. Let rest for 10 minutes.Timer Available:Ball Rest (10:00)
- 6Tighten and first rise: Do a quick fold to tighten the surface and seal again. This will help the bread hold its shape better. This process is so therapeutic! Cover with a towel and let rest for 20 minutes.Timer Available:First Final Rise (20:00)
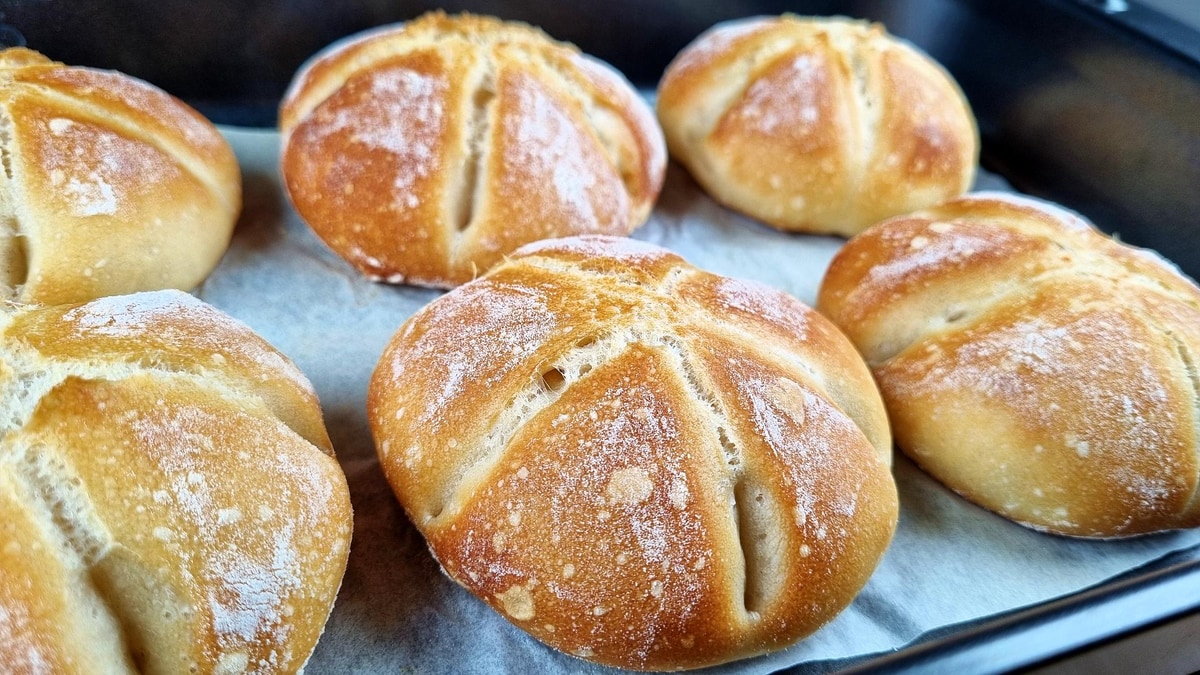
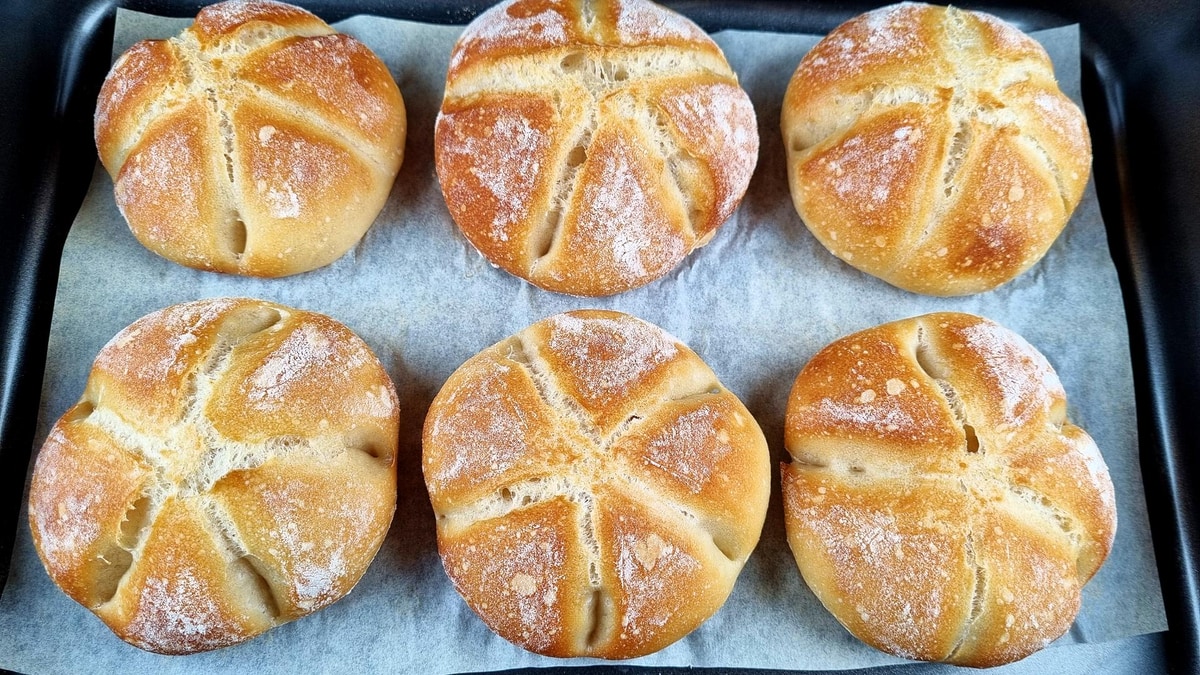
- 7Fork-press wedge pattern: Now for the final shape! Sprinkle top with flour and gently flatten. Press down with the side of a fork, pushing as hard as you can without cutting completely through. This creates wedge divisions that make the bread easy to share.
- 8Final rise: Let rise for 20 more minutes. Refresh the cuts if needed.Timer Available:Final Rise (20:00)
- 9Bake: Sprinkle a little water between the breads and cover with another pan of the same size. Bake at 430°F (220°C) for 20 minutes covered. Remove the top tray and bake for 10 more minutes.430°F (220°C)Timer Available:Baking Time (30:00)
- 10Cool and serve: Remove from oven. Hollow sound means they're perfectly baked. So pleasantly chewy and easily divided into wedges - perfect for sharing!

Watch the Video Tutorial
See every step in action! Follow along with the complete video guide for perfect results.
You Might Also Like
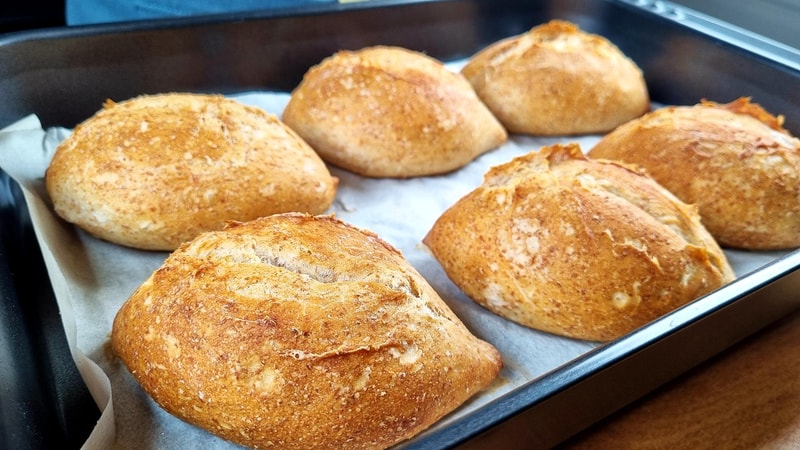
Whole Wheat Bread Rolls - Beautiful Wheat Grain Shape
Crispy, airy, absolutely perfect! These beautiful wheat grain shaped rolls are made with whole wheat flour for amazing taste and nutrition. So soft inside with a crispy crust that sings as it cools. Two shaping methods included!
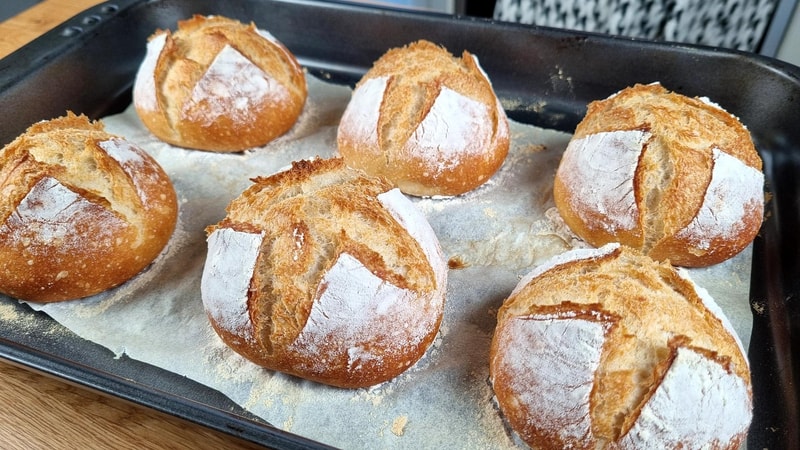
Quick Bread Rolls - Crispy Crust, Soft Inside
Amazing quick bread rolls with a crispy crust and soft inside. No kneading required - just mix, fold, and bake. Perfect for same-day fresh bread with bakery-quality results.