frenchartisansame day-breads

Perfect Yogurt Baguettes
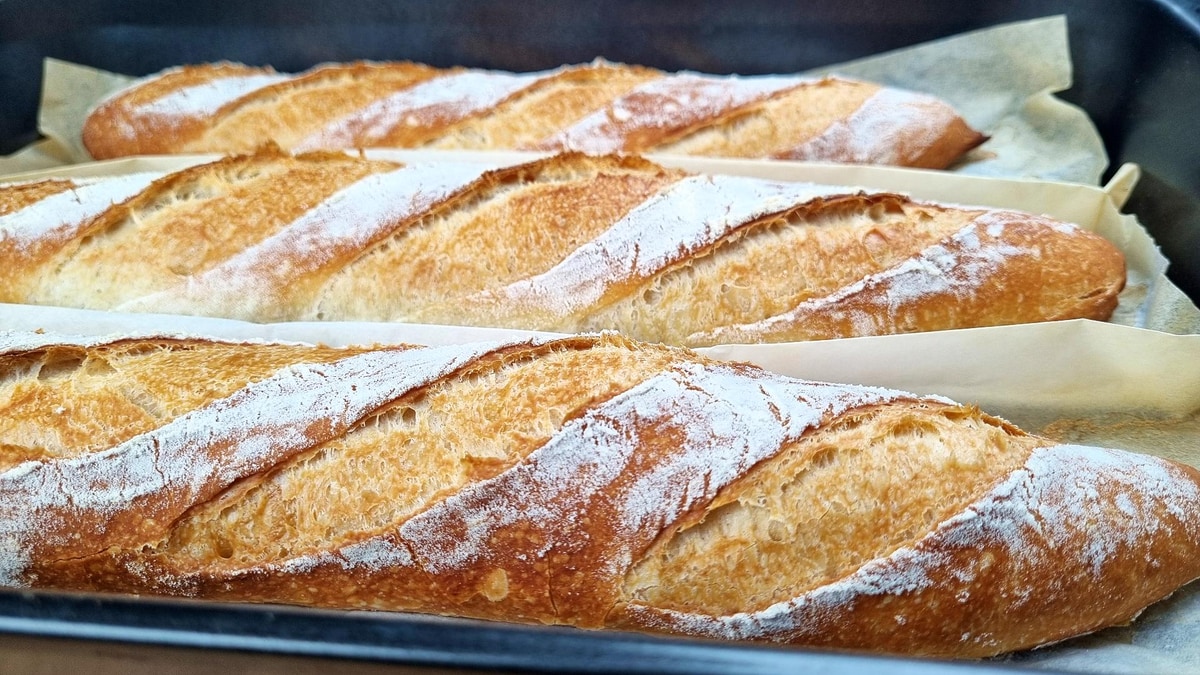
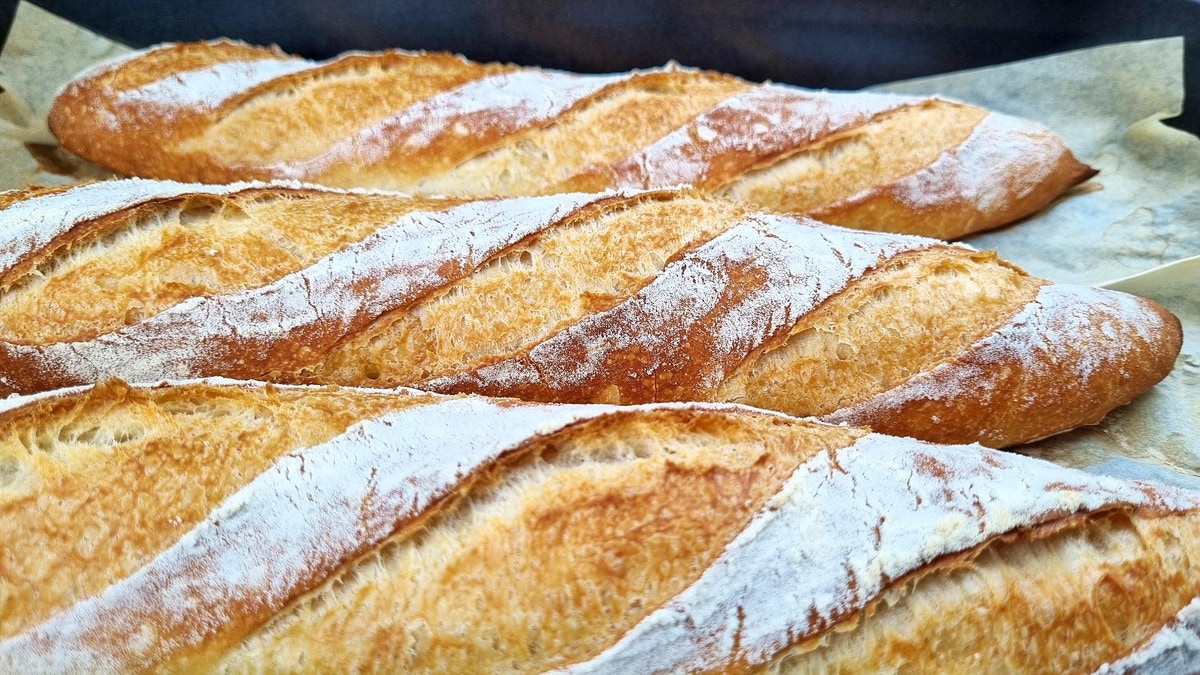
Crispy and flaky outside with incredibly soft inside
This recipe is my new favorite! These baguettes have a crispy and flaky outside with a very soft inside. The addition of yogurt creates an incredibly tender crumb while maintaining that classic baguette texture. I use the "lift and slap" technique instead of traditional kneading, which helps strengthen the gluten network without overworking the dough. The result is authentic-looking baguettes that taste amazing!
How to Make Perfect Yogurt Baguettes
Follow along to see the lift-and-slap technique in action
Follow along with my video for a complete visual guide! You'll see exactly how it's done, from the lift-and-slap technique to shaping perfect baguettes. Watch how the yogurt creates that incredibly tender texture!
Ingredients
- 160 ml Water(⅔ cup)
- 60 g Plain yogurt(¼ cup)
- 3 g Fresh yeast(or 2g dry yeast (½ tsp))
- 320 g Bread flour(2½ cups)
- 1 tsp Vegetable oil(olive oil works too)
- 6 g Salt(1 tsp)
Step-by-Step Instructions
- 1Mix the wet ingredients: In a bowl, combine water (160ml), plain yogurt (60g), and crumble in the fresh yeast (3g) or dry yeast (2g). Mix well until combined.
- 2Add dry ingredients: Add bread flour (320g), vegetable oil (1 tsp), and salt (6g). Mix until there's no more dry flour - just mix, no need to knead at this stage. Cover and let rest for 30 minutes.Timer Available:First Rest (30:00)
- 3First stretch and fold: With a wet hand, stretch the 4 sides of the dough and fold them to the center. Lift the dough and slap it back - this "lift and slap" technique helps strengthen the gluten network. Cover and let rest for another 30 minutes.Timer Available:Second Rest (30:00)
- 4Second stretch and fold: Repeat the stretch and fold steps from before, lifting and slapping the dough. Now it's ready to rise! Cover and let rise until it doubles in size, which could take up to 2 hours.Timer Available:Main Rise (2:00:00)
- 5Divide the dough: Sprinkle flour on your work surface and fold the dough so it's easier to cut. Cut into 3 equal parts.
- 6Pre-shape: Gently flatten each piece and roll into a roughly pre-shaped baguette. Seal the edge by pinching it. Flatten gently again, then fold into a baguette shape. Let them rest for 10 minutes.Timer Available:Pre-shape Rest (10:00)
- 7Final shaping: Gently flatten each piece again, then roll and press down with your fingers. Make sure you roll it tightly and pinch the edge to seal it. Gently roll the ends to make them pointy.
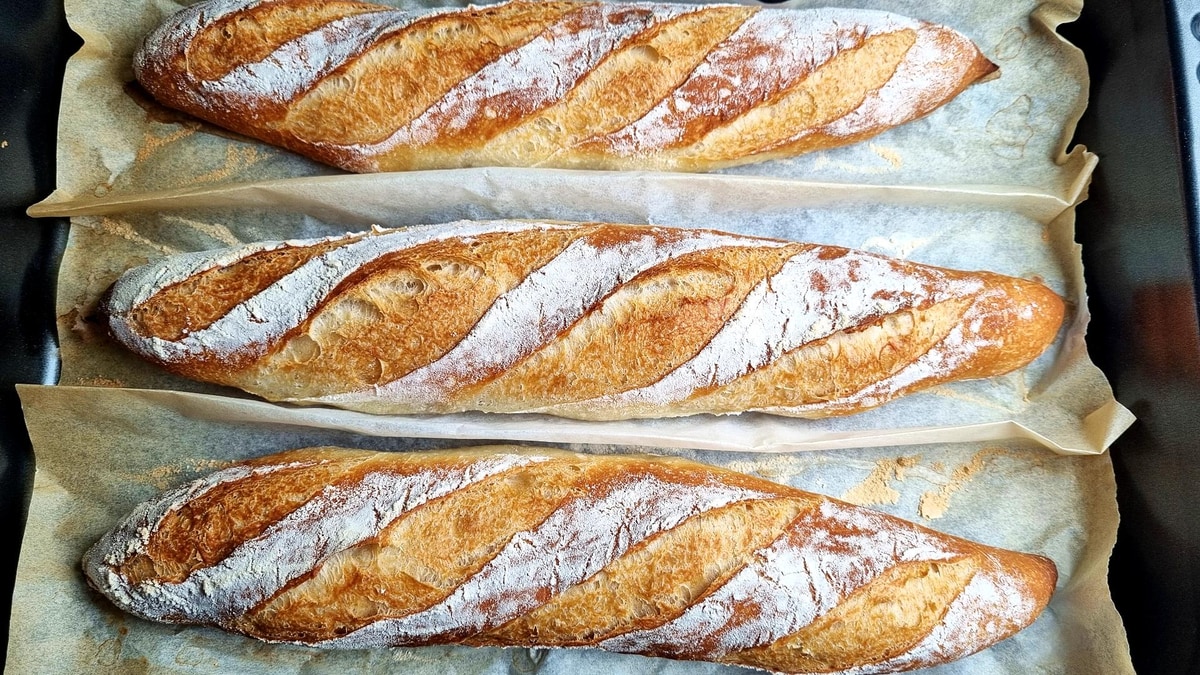
- 8Prepare for baking: Place the baguettes on a baking tray with folded baking paper between them to keep them separated. Cover with a towel and let rise for 30 minutes.Timer Available:Final Rise (30:00)
- 9Score: Lightly sprinkle flour over the baguettes and smooth it with your hand. Score the bread with a sharp blade or knife in diagonal slashes.
- 10First bake: Sprinkle a little water around the baguettes and cover with another tray of the same size. Bake at 450°F (230°C) for 20 minutes.450°F (230°C)Timer Available:First Bake (20:00)
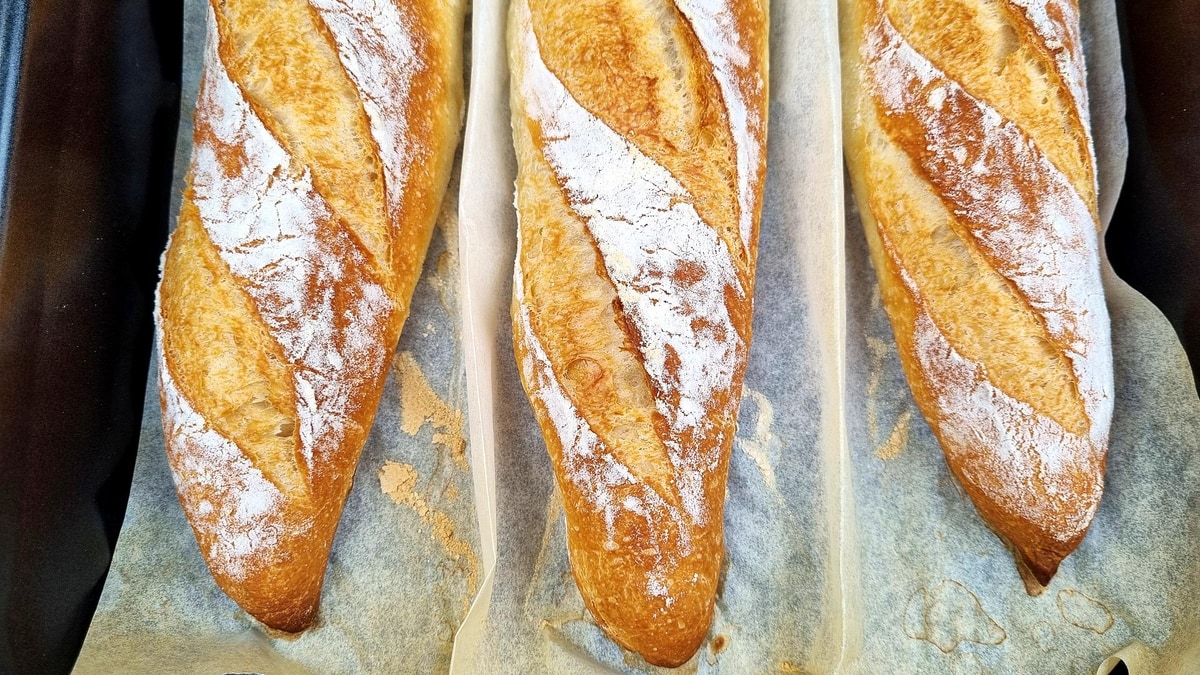
- 11Second bake: Remove the top tray and bake for 10 more minutes at 390°F (200°C) until golden brown. The baguettes should sing when tapped!390°F (200°C)Timer Available:Second Bake (10:00)
- 12Cool and serve: Let cool slightly before serving. The crust will be crunchy and flaky, not hard at all, with a perfectly soft interior. They look like real baguettes - well, they ARE real baguettes!
Watch the Video Tutorial
See every step in action! Follow along with the complete video guide for perfect results.
You Might Also Like
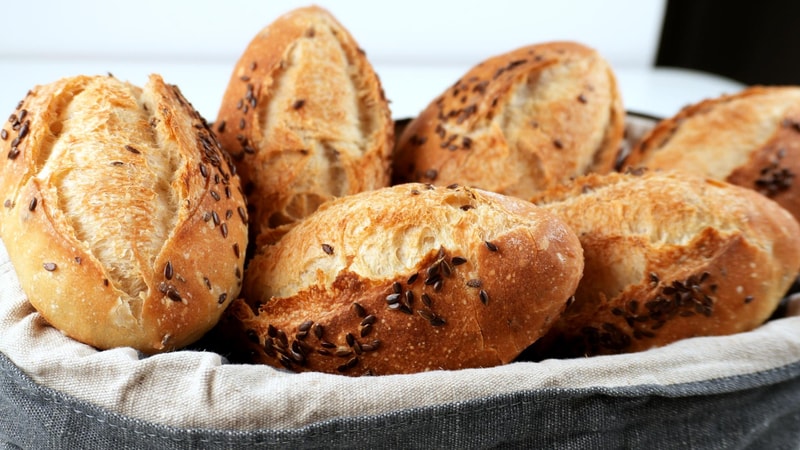
Flaxseed Bread Rolls - Healthy, Crispy Crust, Super Soft
Crispy crust, soft inside, toasted flaxseeds on top - so soft! Perfect for any sandwich. Flaxseeds add healthy omega-3s and wonderful nutty flavor.
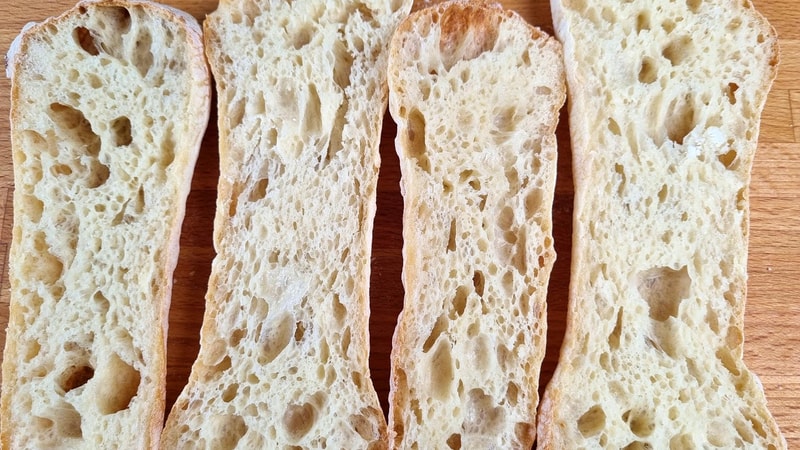
Perfect Ciabatta Bread Recipe
Authentic Italian ciabatta with a thin crispy crust and airy soft inside. Made with overnight fermentation for incredible flavor and texture.