Italian Panettone Made Easy - Christmas Sweet Bread
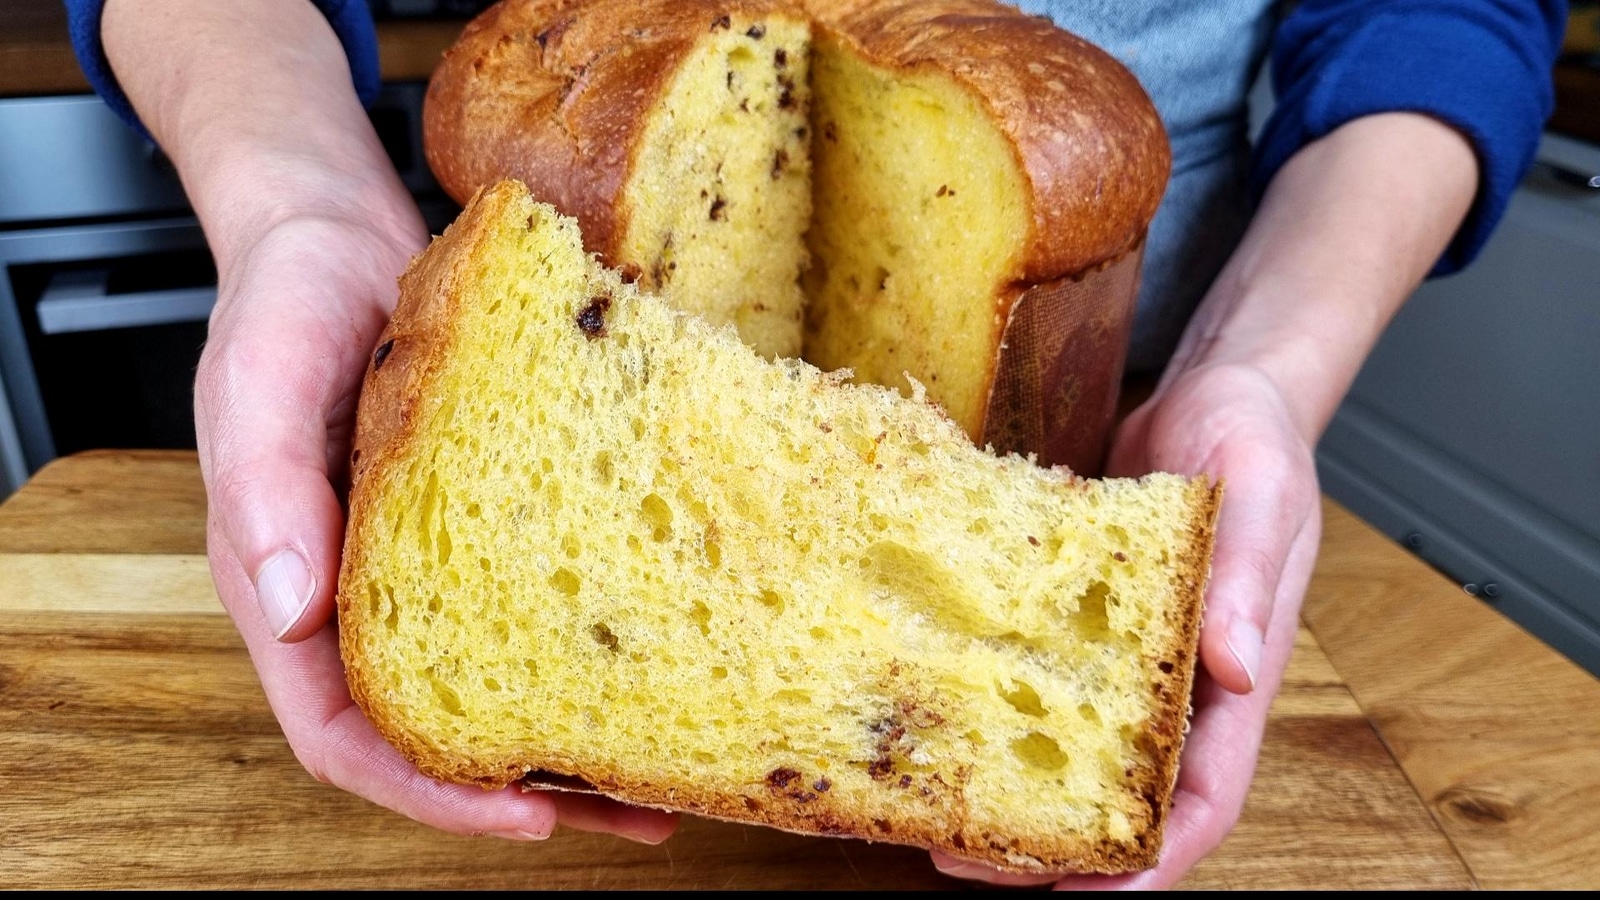
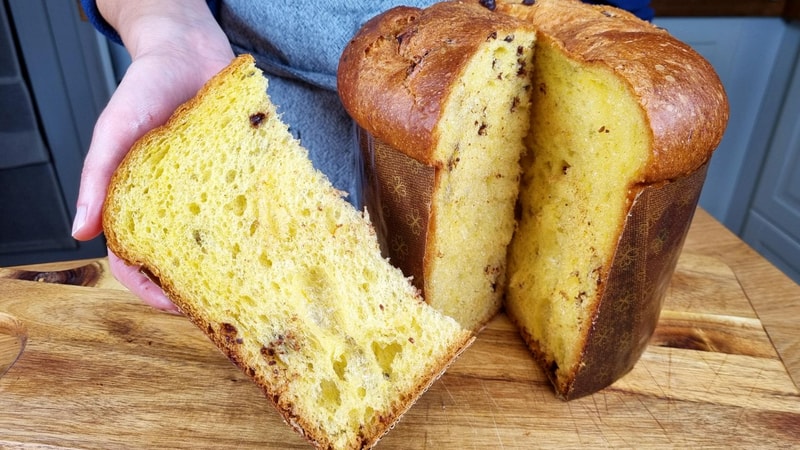
This panettone was so fun to make! I tweaked the traditional recipe a bit to make it more approachable while keeping all that amazing flavor. The result? A bread that tears into beautiful strands, filled with little chocolate bursts, and an aroma that's absolutely incredible.
Panettone requires patience—it's a two-day process with overnight fermentation—but the results are worth every moment. The secret weapon is a biga starter that makes the bread rise beautifully without traditional sourdough. I also create an aromatic "flavor bomb" with lemon and orange zest infused in honey overnight.
Follow along with the video to see the magic happen and learn all the special techniques.
Italian Panettone Recipe
Day 1: Building the Foundation
I start by making a biga starter—a stiff dough that ferments overnight and gives panettone its characteristic rise and flavor. Then I create the first dough with egg yolks, sugar, and butter, mixing until it's perfectly shiny and elastic. The windowpane test tells me when it's ready. Finally, I prepare the citrus zest and honey mixture that infuses overnight—this is the flavor bomb that makes panettone special!
Day 1 - Biga Starter
- 60 g Bread flour(½ cup)
- 4 g Fresh yeast(1¼ tsp, or 2g dry yeast (⅔ tsp))
- 30 ml Water(2 tbsp)
Day 1 - First Dough
- Biga starter(all of it, torn into small pieces)
- 120 ml Water(½ cup)
- 200 g Bread flour(1 ½ cups)
- 3 Egg yolks(preferably free-range)
- 50 g Sugar(4 tbsp)
- 50 g Butter(¼ cup, room temperature, in pieces)
Day 1 - Aromatic Bomb (Overnight Infusion)
- 1 Lemon zest(organic, grated (½ lemon if very large))
- 1 Orange zest(organic, grated)
- 20 g Honey(1 tbsp)
Day 2 - Final Dough
- 2 Egg yolks
- 3 g Salt(½ tsp)
- 50 g Bread flour(⅓ cup)
- 50 g Sugar(4 tbsp)
- Aromatic bomb mixture(from Day 1)
- 70 g Butter(5 tbsp, room temperature)
- 50 g Chocolate chips(⅓ cup)
Day 1 Instructions
- 1Make the biga starter: Mix bread flour (60g), yeast (4g), and water (30ml) until it forms a stiff dough. Tear into small pieces, cover, and let ferment for 10-12 hours at room temperature. This is what makes the panettone rise!
- 2Start the first dough: After fermentation, tear the biga again into small pieces and place in mixing bowl. Add water (120ml) and bread flour (200g). Mix until it comes together as a stiff dough. Tear into small pieces again—this helps absorption.
- 3Add egg yolks and sugar: Add 3 egg yolks (free-range eggs add beautiful color). Mix for 10 minutes until shiny. Add sugar (50g) and mix for 10 more minutes until smooth and shiny. You can increase mixer speed.
- 4Add butter: Add half the butter (50g total, room temperature) pieces. Mix until incorporated and gradually absorbed. Add remaining butter and mix for about 10 minutes. When it pulls from the bowl, it's ready—perfectly shiny and elastic.
- 5Windowpane test and chill: Stretch the dough to check elasticity. It should be thin enough to see light through. Cover and move to fridge overnight.
- 6Make the aromatic bomb: Grate zest from 1 lemon (or ½ if very large) and 1 orange (use only organic citrus for zest). Mix with honey (20g). Cover and let infuse overnight. So much aroma!
Day 2 Instructions
- 1Start Day 2: Morning - the dough will have risen a little. Deflate it—still elastic and beautiful. Add 2 egg yolks and salt (3g). Mix until fully incorporated. The color is beautiful!
- 2Add flour and sugar: Add bread flour (50g). Mix for 10 minutes. Add sugar (50g). Mix until fully incorporated—shiny and elastic.
- 3Add aromatic bomb and butter: Add the aromatic bomb (zest and honey mixture). Add half the butter (70g total). Mix briefly to incorporate. Add remaining butter and mix for 5 more minutes. Stop when smooth and shiny—don't overmix!
- 4Add chocolate and rest: Windowpane test again—perfectly elastic. Add chocolate chips (50g) and mix by hand with wet hand (or spin in mixer for 10 seconds). Let rest for 1.5 hours.Timer Available:First Rest (1:30:00)
- 5First fold: Grease work surface with vegetable oil or butter. Grab dough from center, lift, and fold on itself a couple of times. Rotate and pull to create surface tension. Wet your hand if sticky. The surface should be perfectly tight.
- 6Second fold and rest: Repeat the lift-and-fold process after 30 minutes. Tuck and fold into tight ball. Let rest for 30 minutes.Timer Available:Second Rest (30:00)
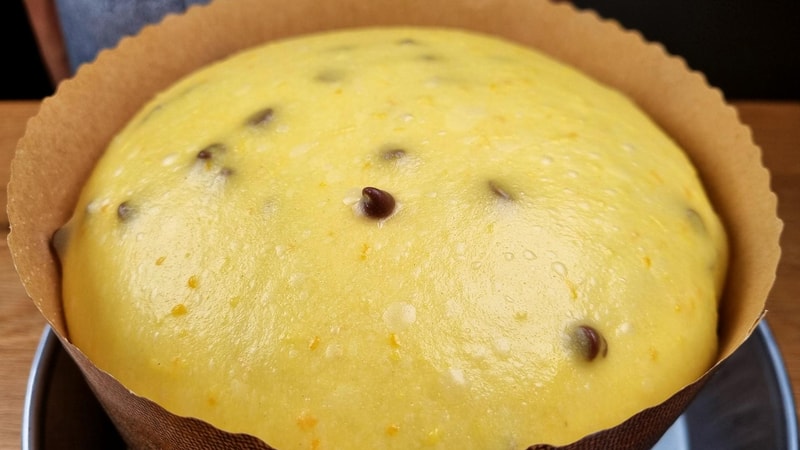
- 7Mold the panettone: Prepare panettone mold (4.5" or 11.5cm diameter, 7" or 18cm tall). Do one more quick lift and fold for final surface tightening. Place into mold—every tiny bit is precious!
- 8Final rise: Let rise until dough is 1" (2cm) from the edge of mold. Cover with shower cap (or towel). Leave uncovered for final 20 minutes to form a crust. The color will be amazing!
- 9Bake: Make two cuts on top. Place a small piece of butter in the center. Bake at 300°F (150°C) for 55 minutes. Use 320°F (160°C) for conventional ovens. Watch the magic happen!300°F (150°C)Timer Available:Baking Time (55:00)
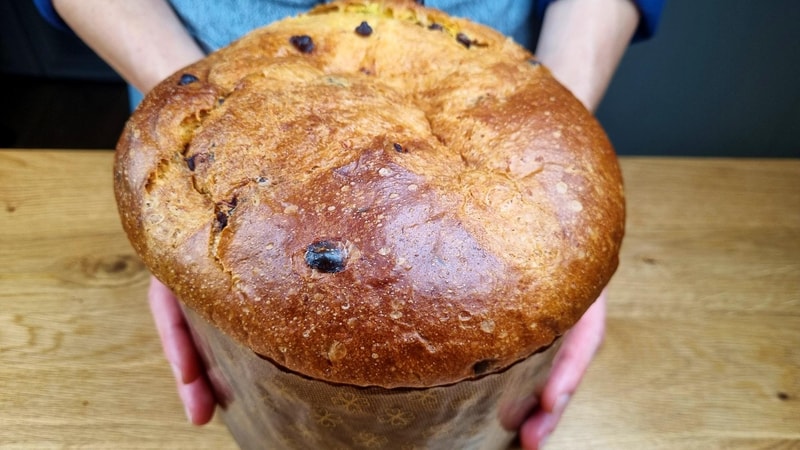
- 10Cool upside down: Work quickly after baking - pierce the sides with two long skewers. Place panettone upside down to cool (skewers support it). Let it rest completely—and get some rest yourself! Wait until next day to slice.
- Use only organic citrus for zesting—conventional citrus may have wax or pesticides on the peel
- Free-range eggs add beautiful golden color to the dough
- Don't overmix after adding the final butter—stop when smooth and shiny
- A shower cap makes perfect coverage for the rising panettone
- The upside-down cooling prevents the bread from collapsing—don't skip this step!
- Wait until the next day to slice for best texture—the panettone continues to develop as it cools

Watch the Video Tutorial
See every step in action! Follow along with the complete video guide for perfect results.
You Might Also Like
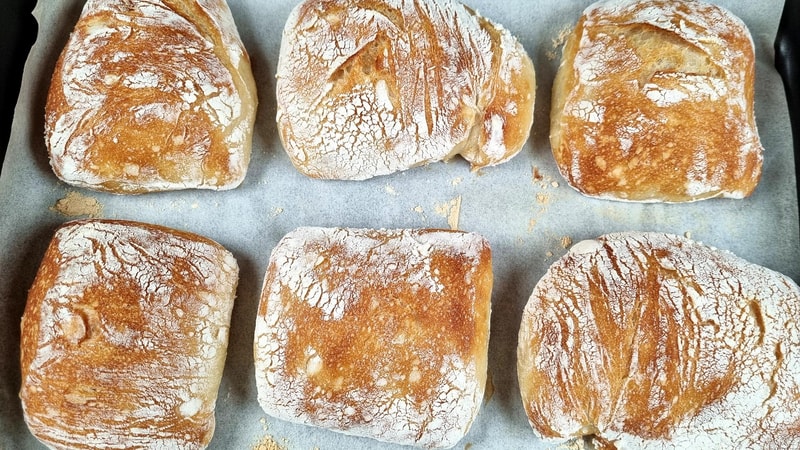
Perfect Italian Bread Recipe
Probably the easiest Italian bread recipe ever! Thin crispy crust with incredibly soft and airy interior. Simple ingredients, no-knead method, heavenly results.
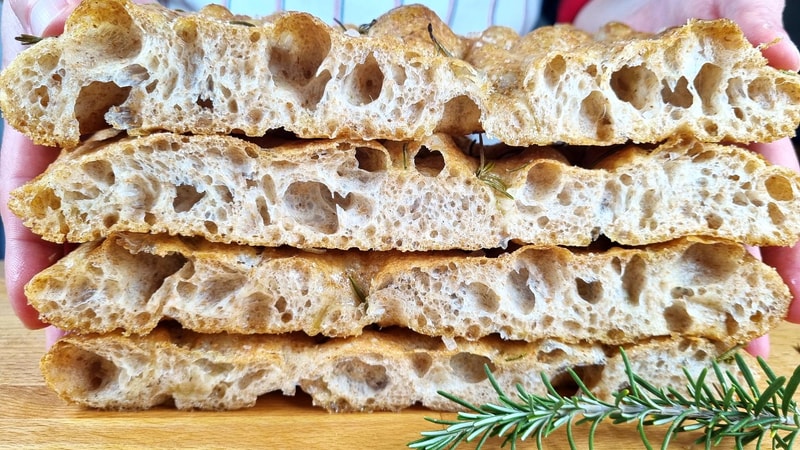
The Best Whole Wheat Focaccia Recipe
Incredible focaccia with whole wheat flour for amazing taste and color. Crispy outside, fluffy inside, with overnight fermentation for maximum flavor.